Tuesday, July 22, 2014

Sweet Taffy card

DSCF5304 (3)

Nothing too special about this card – simple and yet perfect for accentuating some fun patterned paper!

Dimensions:

Daffodil Delight Cardstock - 5 1/2" x 8 1/2"

Rich Razzleberry Cardstock – 4 ¼” X 4 ¾”

4 pieces of Sweet Taffy paper – 2” X 2”

4 pieces of the same Sweet Taffy paper – 1 ¾” X 1 ¾”

Accessories:

White Stampin’ Emboss Powder

Tempting Turquoise Candy Dots

Basics Hodgepodge Clips

Supplies:

Endless Birthday Wishes photopolymer stamp set

Versamark ink pad

Project Life Corner Rounder Punch

Heat Tool

Instructions:

1. Fold the Daffodil Delight paper in half with a Bone Folder.

2. Adhere the Rich Razzleberry Cardstock to the Daffodil Delight Cardstock with SNAIL Adhesive.

3. Using the Project Life corner punch, punch two opposing corners of each square of Sweet Taffy Designer Series Paper.  For instance, punch the top left and the bottom right corners of each square.

4. Adhere the 2” squares to the center of the Rich Razzleberry paper with SNAIL adhesive allowing the right angles to meet as shown. 

5.  Adhere the 1 ¾” squares to the center of each matching 2” square with Stampin’ Dimensionals allowing the right angles to meet as shown.

6.  Slide the arrow clip on the top left square.

7.  Stamp sentiment in VersaMark ink on the bottom right corner of the Rich Razzleberry paper.

8.  Emboss sentiment using White Stampin’ Emboss Powder and Heat Tool.

9.  Embellish as desired using Tempting Turquoise Candy Dots.

Monday, July 21, 2014

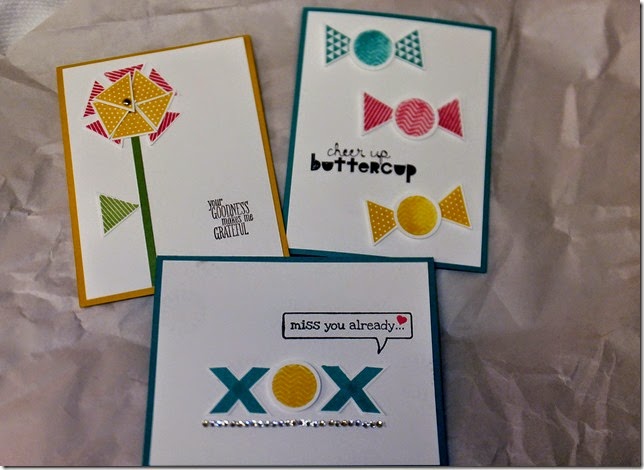
Geometrical set of cards

DSCF4830

Okay, so these cards are not in any special geometrical shapes, they are made using the Geometrical stamp sets.  They were inspired by some cards that I saw that were made by Andrea Walford.

DSCF4831

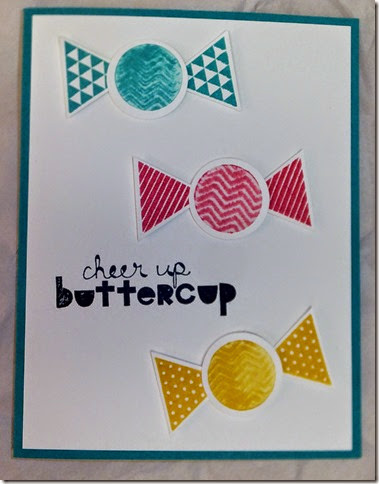
So first we start with the circle and triangle combination to create the pieces of candy.  If I wanted to go all out, I could add Baker’s twine and clear wrap….but I didn’t!  Winking smile

DSCF4832

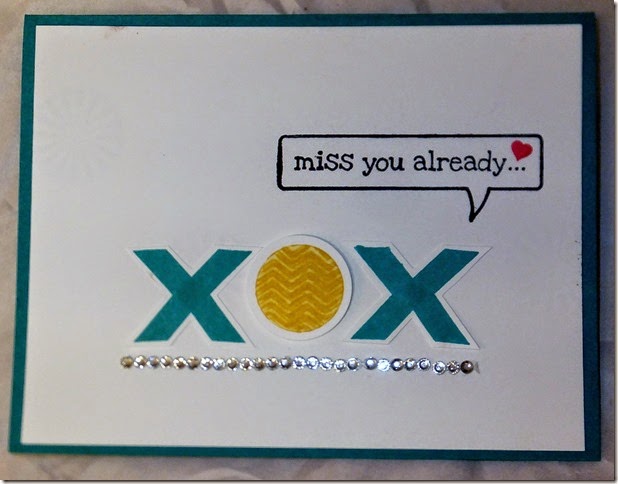
I combined the Geometric stamp set with the Just Saying stamp set for a sweet little card I can sneak into my husband’s bag the next time he’s gone.

DSCF4833

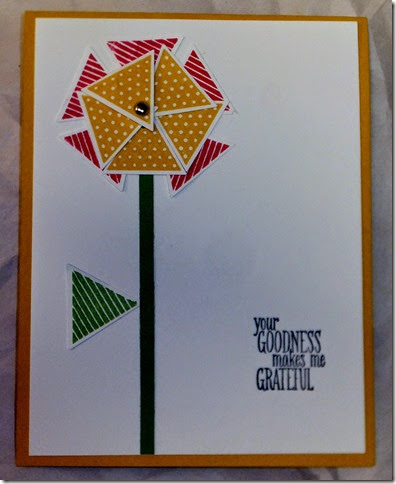
And, of course, what would a good card set be without the addition of a flower?  This time the flower is made with triangles….lots of them! 

Stamps:  Geometrics, Just Saying, Something to Say

Ink:  Wild Wasabi, Melon Mambo, Pink Pirouette, Crushed Curry, Tuxedo Black (Memento), Bermuda Bay

Paper:  Crushed Curry, Bermuda Bay, Whisper White

Accessories:  Basic Rhinestones, Brads

Tuesday, July 8, 2014

CASE of the Mondays #2

I was inspired enough by this quick and easy sketch to actually create two cards for this challenge!  Yikes!

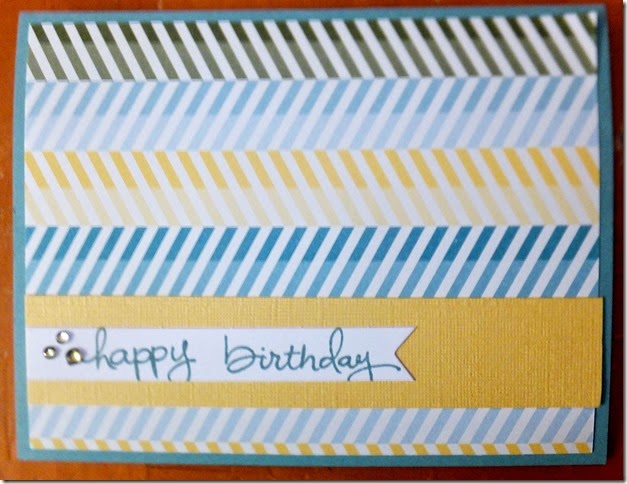
The first card was simply an attempt to use my new DSP stack All Abloom.  While it sounds like a girly stack, this turned out to be a boyish card.  Not the best picture, though….sorry.

DSCF4835

The base is Lost Lagoon (swoon!) and it is accented with Daffodil Delight paper.

DSCF4837

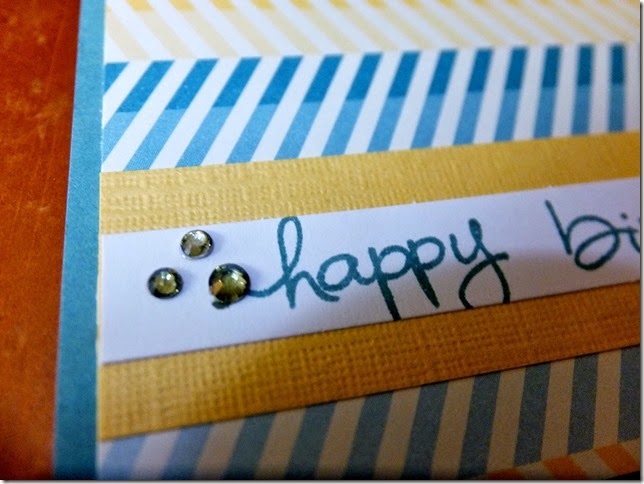
You probably can’t see it, but I colored the rhinestones to match with my darkest Old Olive blendabilities marker.  That just makes me happy!

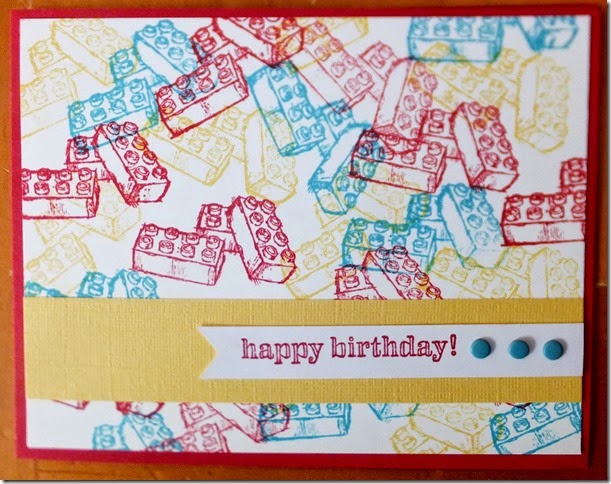
My next boy birthday card uses the stamp set Boys will be Boys.  I just love that name! 

DSCF4834

For this card, I went with Andrea Popp’s idea to make my own background paper.  I repeatedly stamped the lego stamp in Daffodil Delight, Tempting Turquoise and Real Red.  What boy wouldn’t love this card?!

Stamps:  Endless Birthday Wishes, Boys will be Boys

Ink:  Daffodil Delight, Tempting Turquoise, Real Red, Lost Lagoon, Old Olive Blendabilities

Paper:  Real Red, Daffodil Delight, Whisper White, Lost Lagoon, All Abloom DSP

Accessories:  Basic Rhinestones, Candy Dots, June Paper Pumpkin

Monday, July 7, 2014

Blendabilities Class Coming Up!

DSCF4829

Here is a card I made just this weekend that was quick and easy.  My blendabilities markers made it so easy to color these beautiful flowers. 

I will be hosting a Blendabilities class on Saturday, July 19 at 1:00 p.m.  The cost for the class is $50, but it includes 2 sets of Blendabilities (Cherry Cobbler and Pumpkin Pie), as well as a color lifter pen, Memento Ink, and the Blended Blooms single stamp.  To purchase all of those items it would cost you a little more than $54 with shipping and tax! 

Everyone must register before this Friday, July 11 so that the supplies will arrive in time for our class. 

We will be learning how to use the blendabilities markers to achieve beautifully blended colors on your cards and of course we will make some lovely cards to go with them!

Stamps:  Bloom with Hope

Ink:  Memento

Paper:  Whisper White, Old Olive, Rich Razzleberry

Accessories:  Candy dots, Paper Pumpkin June, Circle framelits

Sunday, July 6, 2014

Baby Boat

DSCF4828

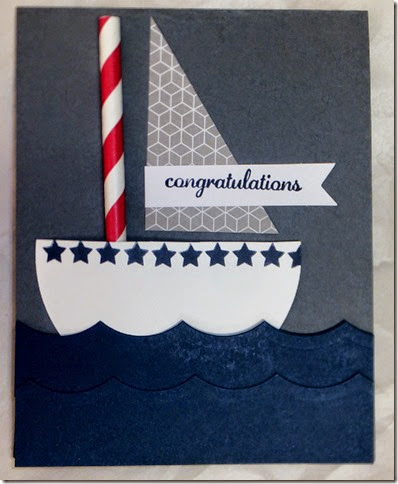
I got the idea for this card from Aly Schilling.  I used lots of scraps to put together this darling little baby boy card. 

The base is basic grey and the waves are made using the negative pieces of the large scallop edgelit.  The boat is a half circle stamped with the June My Paper Pumpkin stamps.  the sail is one of the straws from the kit and the mast is from the Moonlight paper pad.  Very simple!

Stamps:  Express Yourself, June My Paper Pumpkin

Ink:  Night of Navy

Paper:  Whisper White, Basic Grey, Night of Navy, Moonlight

Accessories:  June My Paper Pumpkin, Large scallop edgelit, circle framelits

Friday, July 4, 2014

Happy Independence Day!

Today….the day we celebrate our freedom.

The day we say thank you to those who have served and continue to serve for our freedom.

We celebrate the bombs bursting in air with fireworks……and cookouts….and apple pie!  Winking smile

DSCF4761

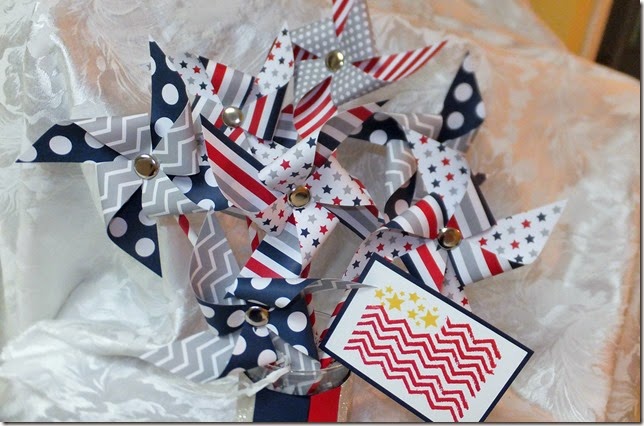
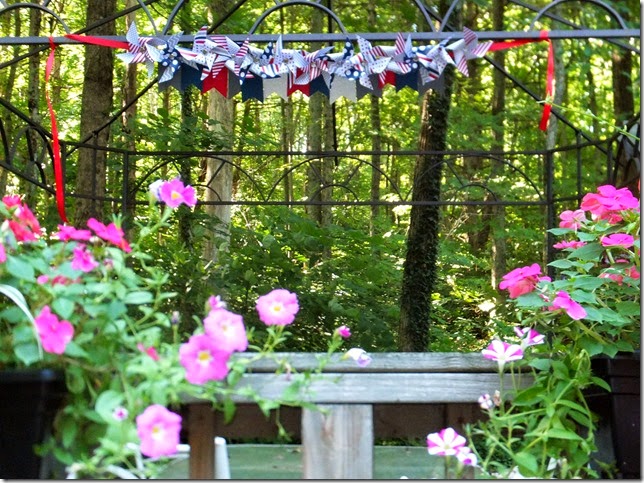
Here’s a little start to our 4th of July décor for the day.  We used our Paper Pumpkin from June to make some decorations for the occasion.

DSCF4762

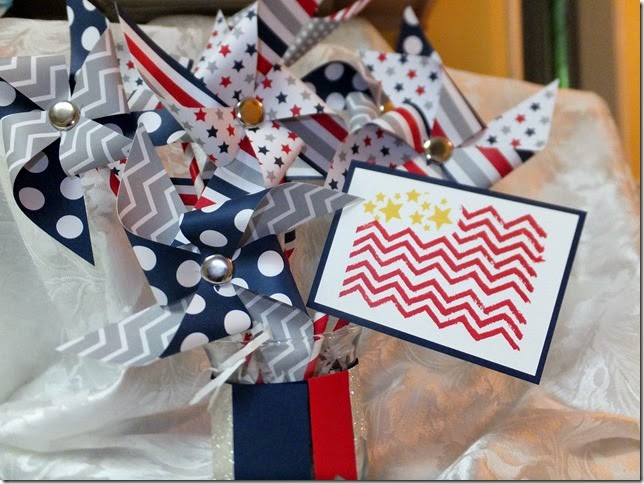
We accented our pinwheel (or windmill as my daughter calls it!) decoration with a makeshift flag.

DSCF4763

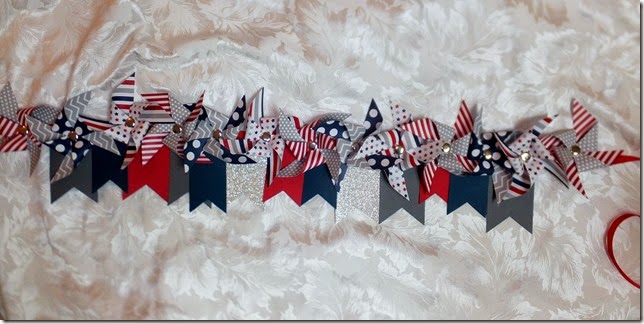
And what’s the fourth of July without a fun banner to decorate your eating area?

DSCF4765

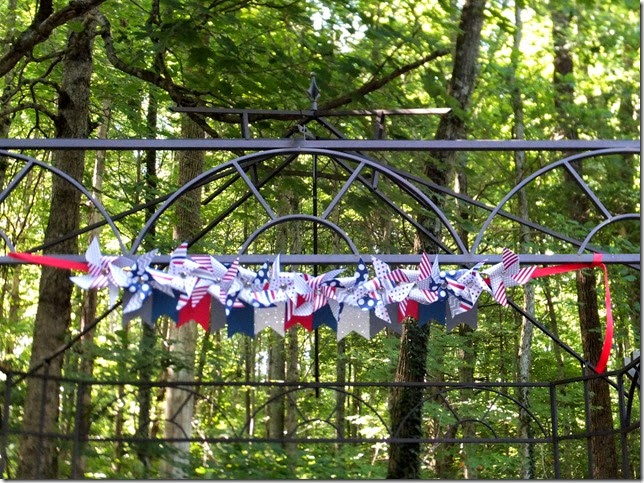
Here’s where I think I will put it – above our outside eating area.  Fun decorations always make steak taste better don’t they?!

DSCF4766

And one final glimpse into our day – a few steps away in our wooded haven we call home!

Stamps:  Work of Art

Ink:  Real Red, Daffodil Delight

Paper:  Real Red, Whisper White, Night of Navy, Basic Grey, Midnight Muse

Accessories:  Real Red Grosgrain ribbon, June Paper Pumpkin, Lots of hot glue!!!!

Thursday, July 3, 2014

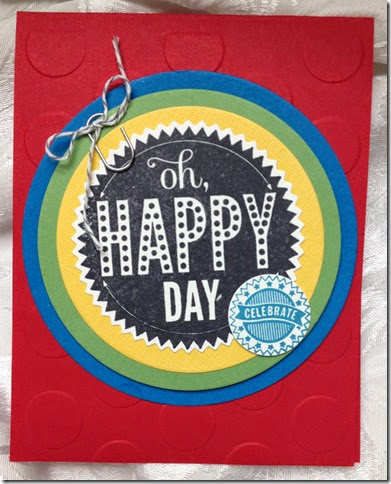
Oh, Happy Day!

I have found a fun new place to find inspiration.  It is called Downloads on Demand, so this is the sketch used for the CASE of the Mondays.  Don’t you just love that little play on words?

photo (6)

Here is the card that I created using the sketch.  I mostly used some leftover pieces from my Starburst Sayings card class to create the card.  In addition, I had some baker’s twine and a paper clip from my June Paper Pumpkin that I wanted to use for the card.  I was afraid to add another sentiment – I didn’t want to make it too busy! 

Stamps:  Starburst Sayings

Ink:  Memento Tuxedo Black, Pacific Point

Paper:  Real Red, Pacific Point, Wild Wasabi, Daffodil Delight, Whisper White

Accessories:  Large dot embossing folder, Circle framelits, Starburst framelits, 1 inch circle punch, paper clips, Smoky Slate baker’s twine

Tuesday, July 1, 2014

Weekend Warriors: Jenny and Carolyn

photo (2)

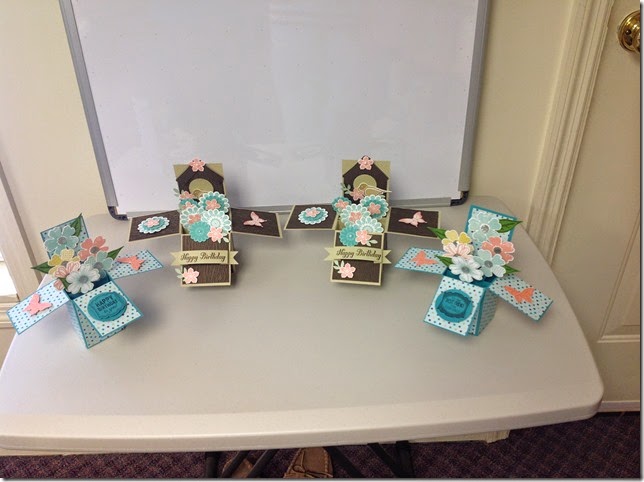
So the weekend craft warriors have been at it again!  Look at these cards in a box they made!  This is one of those projects I would always like to get around to….and then I remember I have a two year old and a seven year old…..gorgeous, ladies!

photo (3)

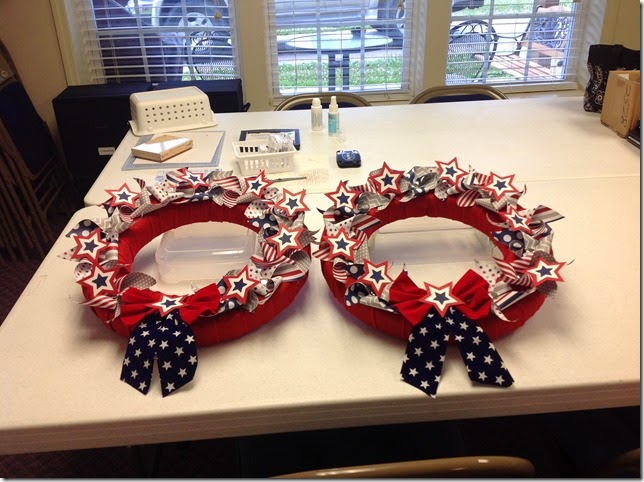
Now, if this isn’t patriotic inspiration, I don’t know what is.  I have an idea to use the pinwheels from my last Paper Pumpkin to create a patriotic wreath.  I just haven’t been to Hobby Lobby to get a wreath base.  You may see a similar project from me soon!  We will keep our fingers crossed on that one….

Finally, we have an entire album of gorgeous cards that were made using tutorials from Jenny Moors, a favorite blogger and Stampin’ Up demonstrator of theirs.  Of course, they have so much time together they never get to do all that they plan….but I’m just saying they get an incredible amount of crafting accomplished!  Personally, I have to sneak it in when the munchkins are sleeping….so maybe I’ll do some right now!  They aren’t awake yet!