Sunday, October 31, 2010

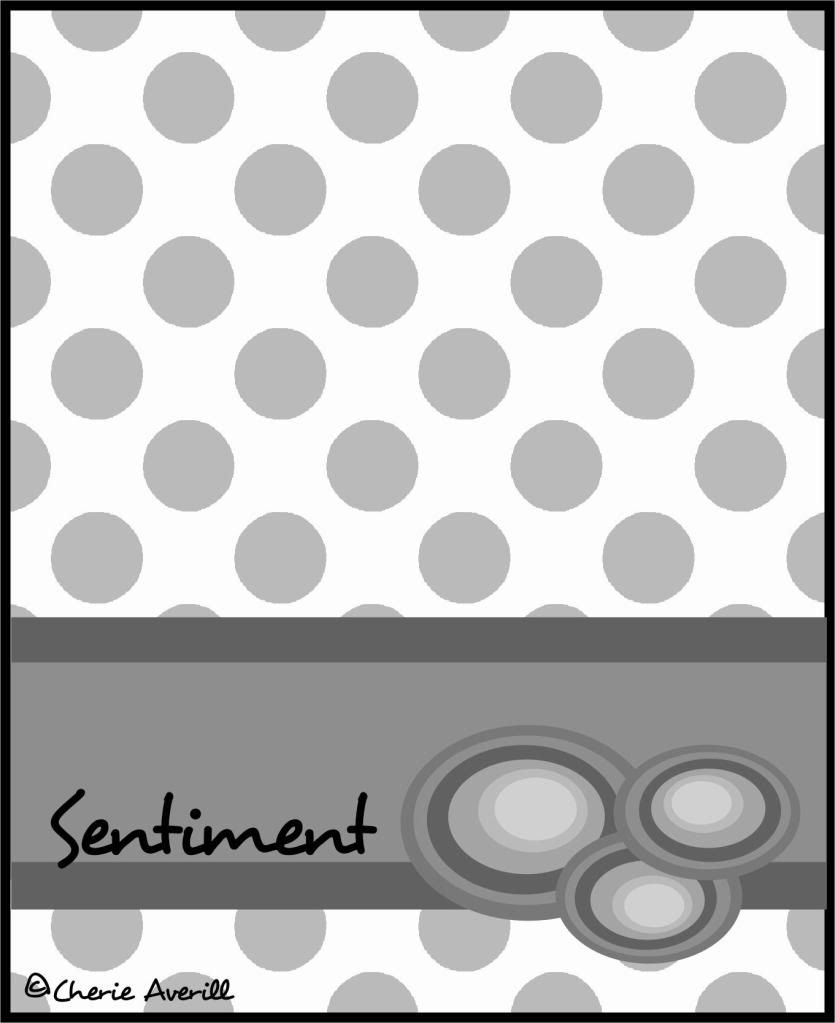
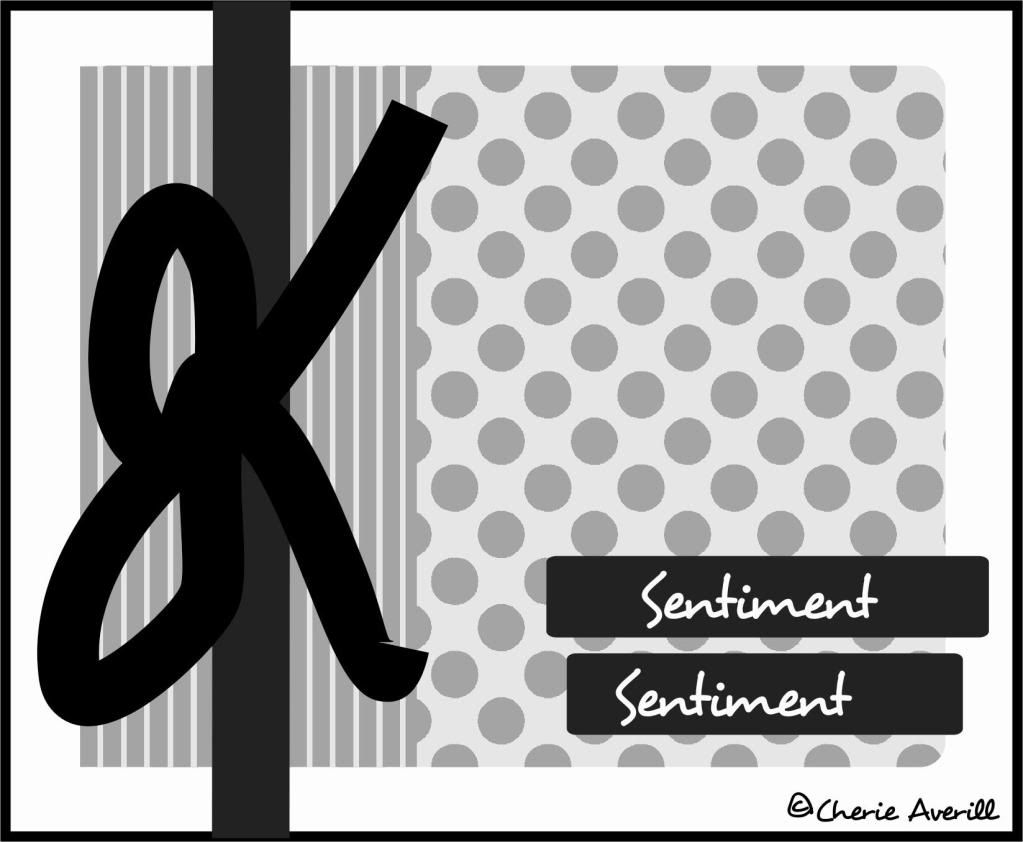
Card Crazy Sketch #3 at Sassy 'Lil Sketches

 I saw a card similar to the one above in my Simply Handmade magazine I got recently, so I decided to CASE it using the supplies that I had.  Then I saw this sketch at Sassy 'Lil Sketches and decided to see what it would look like stepped up a notch with the sketch.
  Here is the end result of my card after using the sketch.  It's still plain and simple, but it adds to the vintage feel without getting too ornate.  While it is probably not the most ornate card I've ever made, I kind of like it.  It is very natural feeling.  I think I'll add it to the cards I'm going to do at the stamp-a-stack in November!
 
Stamps:  Tree Trimmings, Snow Swirled
Ink:  Always Artichoke, Cherry Cobbler, Early Espresso
Paper:  Deck the Halls DP, Cherry Cobbler, Crumb Cake

Saturday, October 30, 2010

It's getting chilly around here.....

Okay, well not this chilly, but it sure is close!  Brrr!!!  We just went from sunny and 75 degrees Farenheit to 40 degrees Farenheit around here.  I personally prefer the sunny days, but I guess we all know what is coming.....winter.  Anyway, here is a page I was inspired to make from the cold weather.  I have some more pictures to scrap to go with this, but I figured I would go on and show this page.  I used the sketch from Andrea Walford Scrappin' class to make this. 
I stamped the tiny snowflakes from Jolly Old St. Nicholas at the bottom and added a rub-on to the bottom piece - since good snow is a limited edition around here!  I don't have the snowflake diecut yet, so I just used a couple from Making Memories.  The DP used is the Lap of Luxury paper.  The word fresh is a felt sticker I had leftover from Halleigh's baby book.  The word snow is from a set of letter stickers I had and highlighted with my white gel pen.
Here is what I did with the other side of the page.  I took the sketch from Sassy Lil Sketches - the October 28th sketch and made this layout to go with the first page.  All of the elements are the same as the first - I just changed up the sketch a bit.  I also added a snowflake overlay over my husband's picture because I really liked that picture of him. 
I have had these pictures laying out to make a page for about a month or more, so thanks for the inspiration, gals!  :)

Monday, October 25, 2010

Fangtastic scrapbook pages

 Here are a few 6X6 scrap pages we made a club last week.  We stamped some of the smaller images in Versamark and then sponged over that with Pear Pizzazz, Tangerine Tango and Basic Gray.  I made a spiderweb on the black paper and used a sponge dauber dipped in Whisper White craft ink to highlight the embossed area.  Finally, I stamped the images with StazOn onto watercolor paper and colored them using watercolor pencils and blender pens. 
 And here is my little pumpkin again - another proud mommy moment.  This is across the road from our home - at her daycare - yes....we can literally walk across the road to it!  She participated in a Trike-a-thon the other day.  She raised $200 to benefit St. Jude's Children's Research Hospital - as she said, "to help the boys and girls who are sick in the hospital."  She had fun and helped other children out at the same time.  That makes me super happy!  :)

Sunday, October 24, 2010

Scallop lunch bag book

 Here is a little book I made for Toby as a gift from Halleigh for his birthday.  I got the inspiration and instructions to make the book from an online class I took from Andrea Walford and Sophia Landry. 
 Here is what the inside pages look like - we added little stars in the corner to accent each picture.
 On the little pullouts, Halleigh either drew pictures or had me write something.  We put a little star in the corner of each pullout so that it spells DADDY.

Sorry the pics are not great - the touchscreen on our camera broke, so now we can't change the setting from the mountain/landscape setting....ugh!  Love and hate digital technology.

Friday, October 22, 2010

Scary Card Contest with 2 RAKs at Sketches for All

Here's my card for the scary card contest going on this week at Sketches for all.  I mostly have cutesie stuff, so this is not my typical card.  I grunged it up with plenty of black sponging to add to the scary effect.  I had a kit of paper and embellishments from My Mind's Eye, some ribbon and black pearls (is that an oxymoron?!), and retired Only Orange paper for this card.  I think I finished it in less than 20 minutes!  Yippee!  Now to go play some more! 
Stop by at http://sketchesforyou.ning.com/ to play along!

Thursday, October 21, 2010

Pumpkin Card

DSCN5055

This is a card we recently made at our club meeting.  The original card came from the Stampin’ Up convention I attended over the summer.  I decided to move the white piece and rearrange the pieces on the card.  Also, I used some retired pumpkin pie ribbon and a corduroy button.  This is one thank you card that is perfect for the season! 

Wednesday, October 20, 2010

Spooky Things decor element projects

 I finally got around to doing my fall decorations this weekend.  Finally made it to the craft store to get pumpkins and frames for these projects!  I was pretty happy with the results, too!  The pumpkins are just the vinyl Spooky Things decor elements.  I also couldn't resist adding the black rhinestone swirls.  Can you believe I actually removed some of them?!  I decided that adding the entire 2 packages was a bit too much.  I was happy with the end results. 
Here are the frames I made.  I just added some  designer paper inside the frames and rubbed the vinyl on the glass part of the frame.  Halleigh has some homemade pumpkins in there, too!   The entire decor set was finished in less than 30 minutes!  What's not to love about that?!

Tuesday, October 19, 2010

My hubby is 40 and fabulous!!!

Here's the birthday card that I made for my husband.  His birthday was yesterday, so I went to church and decorated his building with lots of silly posters!  It was fun and silly, so he loved it!
I use the Celebrations paper and Real Red satin ribbon/button for the accent.  I sponged my chipboard numbers with Real Red craft ink and then heated it with Irridescent Ice Embossing Powder.  This is matted on vellum cardstock that I ran through the large dot embossing plate and sponged with Real Red.
Here's the pullout (it's a pullout card, not an open card!):
I masked the words when I was stamping balloons so you could still read what I stamped.  The birthday bliss stamp used craft ink and Irridescent Ice EP, also.

Thursday, October 14, 2010

 Here is a sketch the Design Team was given on Sketches for All. I liked the idea of a hidden journal, so I decided that instead of doing my usual pocket underneath a picture, I would use a hinge that I have had in my stash for ever....

Here is the page as you look at it....more retired paper, a few buttons and flowers from Making Memories and other companies, some letters by K and company and the hinge was Architexture. 
Here's what you find when you lift up the photo hinge.  The journaling for the pictures on the page! 
And, my little pumpkin...isn't she adorable?!

Saturday, October 9, 2010

Sassy Sketch and photo challenge


Here's Card Crazy Sketch #1 over at Sassy Little Sketches.  I used this sketch to create a layout for my daughter's birthday invitations.
Next, I was challenged to use a photo as a springboard for creating a project.  Can you believe there are no real fairy photos to use for inspiration?!?!  Just kidding!  I thought this was a beautiful photo for giving my some ideas for this invitation.
So....here's the invitation I made for my daughter's birthday party.   You'll never believe that I did this entire card in the car on a trip to Atlanta, Georgia!  Yes....I ran my cardstock through the Big Shot and watercolored 20 of these little fairies in the car Tuesday!  My husband said....just how many colors do you have to use to do that?   I didn't count.....it was probably about 20, though!  Anyway....it's not too busy a card (my DH hates busy cards....I have to stick to simple for him....and no glitter....can you believe that?!)  I hope my daughter likes it and all the little pixie stick fairy wands we have made for her party! 
Here's the inside of the card:

Hope to see you fairy soon!!!

Friday, October 8, 2010

Theme and Variations

Okay, so if you didn't already run to the clearance sale at my Stampin' Up website, you need to do it right now!  The paper, like the summer sun paper here, was super cheap and so was a ton of ribbon and sizzix dies!  
Anyway, I'm making it a mission of mine to use up all of my retired paper and not let it collect dust.   Therefore, it makes really great card bases!  Here are a few variations of a birthday themed card that I made with the Party This Way stamp set.
Stamps:  Party This Way
Ink:  Kiwi Kiss, Pacific Point
Paper:  Kiwi Kiss, Summer Sun, DSP (retired)
Accessories:  Scallop Trim punch, Pacific Point striped grosgrain ribbon

Monday, October 4, 2010

Quick and easy thank you card

This is a super easy and fast card to make - I made it for a world card making day stamp-a-stack class. 
I used Bermuda Bay for the base and embossed it with the Big Shot.  I stamped a sentiment and punched it out with the Decorative Label punch and ran a few flowers through the Big shot and I was done!

Stamps:  Occasional Quotes
Ink:  Basic Black, Melon Mambo
Paper:  Bermuda Bay, Melon Mambo, Whisper White
Accessories:  Melon Mambo ribbon, Decorative Label punch, Floral Fusion sizzlit, Polka Dot embossing folder, sponge, slit punch, rhinestone

Sunday, October 3, 2010

Jimmy Buffet inspired page....


One of my hubby's best friends turned 40 this year.  Toby got inspired by a Jimmy Buffet song, "Pirate at 40" to have a pirate themed surprise party for him.  JimPat absolutely loved it and all the boys had a great time!  I couldn't resist a pirate themed page to go with their silly pictures. 
Ink:  Riding Hood Red, Whisper White Craft Ink
Paper:  Retired DSP, Basic Black
Accessories:  Black Fine Flourish Jewels, Kiwi Kiss striped grosgrain ribbon, distressing kit, eye patch from Pirate Party kit, chipboard numbers, Irridescent Ice EP, journaling paper from Jenni Bowlin Studio, flourishes and letters from the dollar store