Tuesday, July 30, 2013

More Pumpkin Parties!

Now this is exactly what I like to see – Paper Pumpkin parties!!!!  Yes!!!!

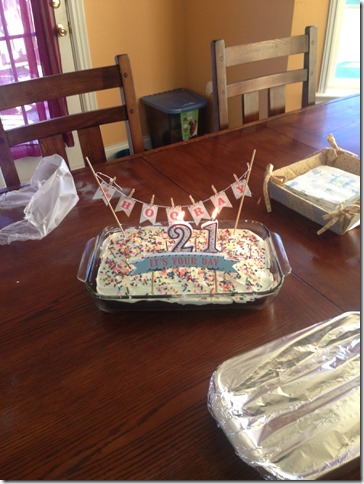
Hannah, one of my club members, just sent me a picture of a cake she made for her son’s birthday – I can’t believe he’s 21!!!!  What a fabulous and fun cake decorated with her paper pumpkin!

IMG_8039

Now how fun is that?!  And the best part is – it didn’t take all day long to create those festive decorations!  Thanks, Hannah, for sharing your fun with us! 

Don’t forget – you, too, can join the pumpkin party fun for half price for the next two months!  If you are a new subscriber, just use promo code PUMPKINDEAL and your first two months are only $10!  What a deal!  Just click the picture below to sign up.

Paper-pumpkin_demo_header_august

Monday, July 29, 2013

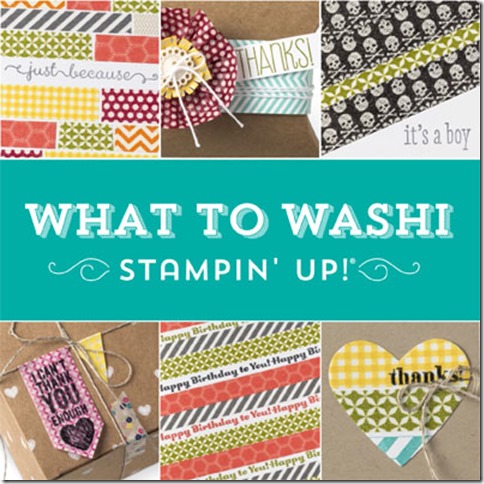
What to Washi

Don’t you just love the name of the most recent online class offered by Stampin’ Up?  I don’t know why – I just think it’s funny!  But I have been working on making some cards inspired by the class projects – I don’t always have everything on hand, so I like to use what I have and make my own creations.

DSCF6676

So first up is a little notecard that uses the Epic Day paper and the Epic Day washi – very simple.  I stamped right on the washi – I think I used Basic Grey for this one….but it may have been black Staz On – I can’t remember!  I added a few Pool Party candy dots and that was it!

DSCF6677

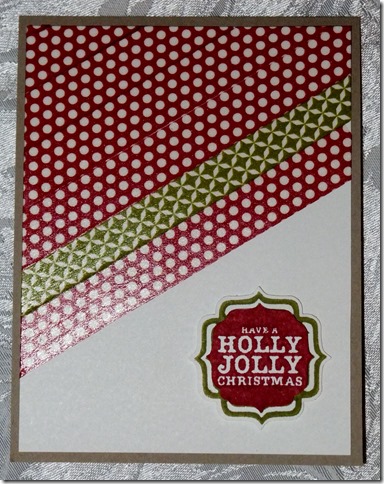
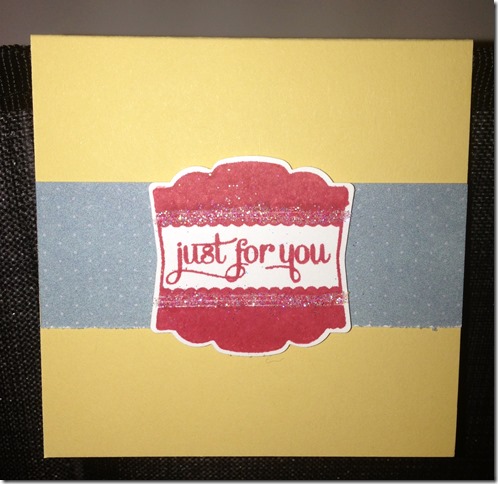
For a little Christmas change, I decided to use the Holly Jolly Christmas stamp from the Tags 4 U stamp set in the holiday catalogue coming up.  I also used the Label Bracket punch to match.  Super fun look and so easy to make!

DSCF6678

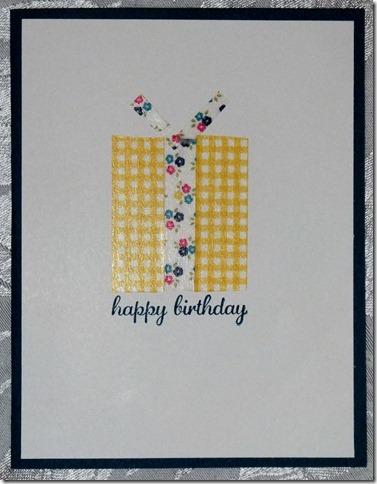
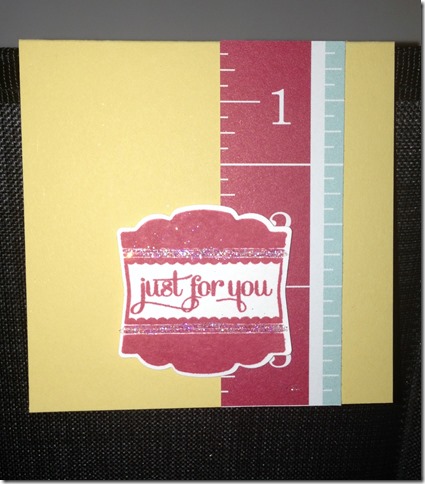
Finally, I think this one is my favorite – a birthday card using the Gingham Garden washi – again – super clean and simple but lots of punch to it! 

So, if you want to check out this online class, just click on the class picture below:

134743L

The class includes these topics and a few videos to show you how to do the techniques in the class:

  • The Washi Basics
  • Washi-The Next Step
  • Above and Beyond
  • Sharing Washi with Others
  • Memory Keeping
  • Storage
  • Only the Beginning. . .

Friday, July 26, 2013

Berrylicious inspiration: Charlotte Keeney

So, I can’t remember the name of the DSP as it is retired – maybe Berry Blossoms, but I love all these cards that Charlotte pinned recently to Pinterest!  She has been hot on the card making scene!

Don’t you just love the flower on here?  I love that it is a circle punch that is snipped all the way around with scissors!  Clever – and I love the button with baker’s twine – great finishing touches!

I miss that pleated ribbon now that it is retired.  I love the jewels in the middle of these flowers, too!

Finally – I found one more card on Charlotte’s pinterest page –

just gorgeous!

I love how these flowers are punched, but at first glance they look like she cut them out by hand!  Great simple and elegant card, Charlotte!  Thanks for the inspiration!  Smile

Thursday, July 25, 2013

Tag It card

DSCF6672

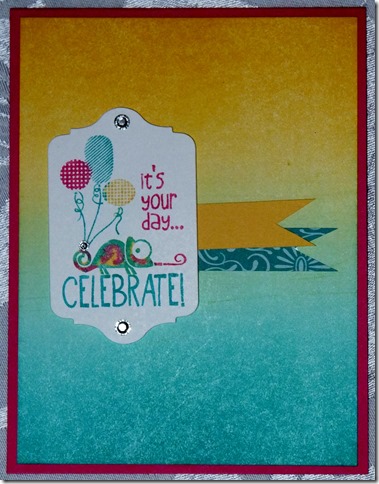
I made this card this past week for my daughter’s baptism day.  I liked this stamp from the Tag It stamp set.  It is great for birthdays as well as any other celebration day.  Plus, the chameleon looks like Pascal from Tangled!  My daughter loves him! 

Anyway, I made this card with my brayer and Daffodil Delight and Bermuda Bay ink.  I started from opposite ends of the background piece and just let them blend in the middle a little bit. 

On the stamp, I used my markers to color each part of the image – I got a little crazy with Pascal since chameleons like to blend in.  Winking smile

I loved the end result of this!  Plus, the best thing about this stamp set is that Ronald McDonald House Charities get $3 for every stamp set purchased!  Not only do you get a cute stamp set – you help others out by getting it!  Double bonus! 

Stamps:  Tag It

Ink:  Daffodil Delight, Bermuda Bay, Melon Mambo

Paper:  Melon Mambo, Whisper White, Daffodil Delight, Retired DSP

Accessories:  Chalk Talk framelits, Basic Rhinestones, Brayer


Stay tuned tomorrow for more inspiration from Charlotte Keeney – She is on fire!

Tuesday, July 23, 2013

Paper Pumpkin–July

Can I just say that July’s Paper Pumpkin kit was just absolutely perfect timing for this family?  Really!

$(KGrHqR,!qwFHl0HNPP3BR5p-Y7LKg~~60_57

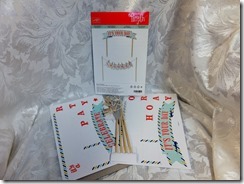
This month’s Paper Pumpkin was a kit titled Party Pennants.

$(KGrHqV,!rEFHOeTdtC(BR5p-n!khw~~60_57

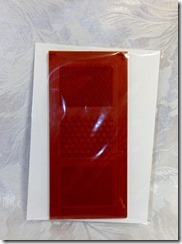
It came with some skewers, die cut pennants and banners, Stampin’ Dimensionals, 2 Stampin’ Spots, 3 awesome background stamps, and some Baker’s twine. 

$(KGrHqV,!nsFHgJIM28dBR5p-wjzsg~~60_57

So this was perfect timing for us because our daughter was getting baptized this Sunday! 

DSCF6709

Needless to say, a party pennant banner was the perfect item for the occasion!  Smile

DSCF6704

So, I made Halleigh a special cake with the banner on top for the dinner we had with the family afterward.

DSCF6735

And since the colors in the kit were Pool Party, Summer Starfruit and Tangerine Tango, I made a berry blue Jello Poke Cake to match on the inside!  It was YUMMY! 

Paper-pumpkin_demo_header_august

P.S. – If you are a new Paper Pumpkin customer, you can join Paper Pumpkin for only $10 a month for the first two months!!!!  What a deal!  You can join here and choose Valerie Durham as your demonstrator. 

Saturday, July 20, 2013

Sent with Love

IMG_1316.JPG (2)

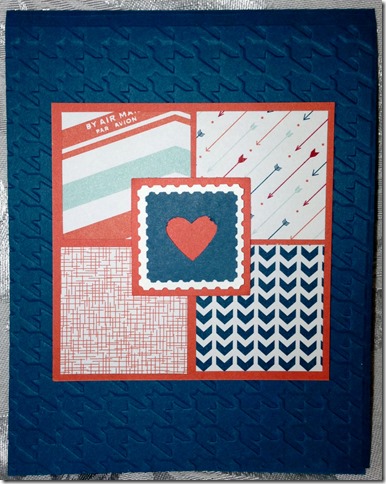
Just a quickie today.  I made this card with some scraps I had laying on my desk the other day.  I embossed the base with the hounds tooth embossing folder. I punched a few squares out of scraps and stamped the postal stamp in Midnight Muse.  I punched a heart on the stamp and placed it on Calypso Coral so it would show through.  That was it! 

Stamps:  Sent with Love

Ink:  Midnight Muse

Paper:  Calypso Coral, Midnight Muse, Whisper White, Retired DSP

Accessories:  Retired square punch Sad smile, Small heart punch, postage stamp punch, hounds tooth embossing folder

Friday, July 19, 2013

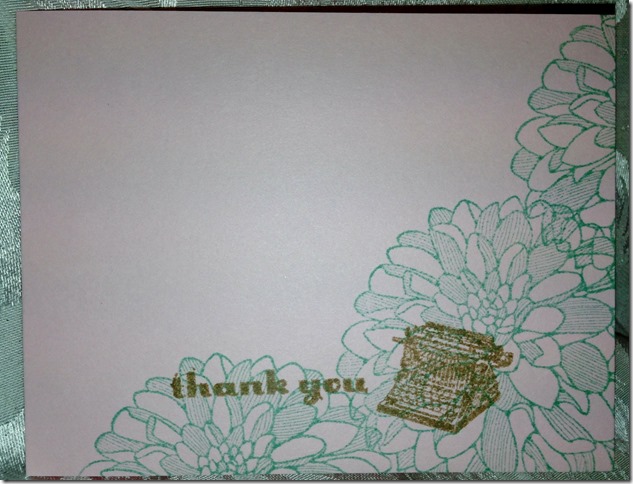
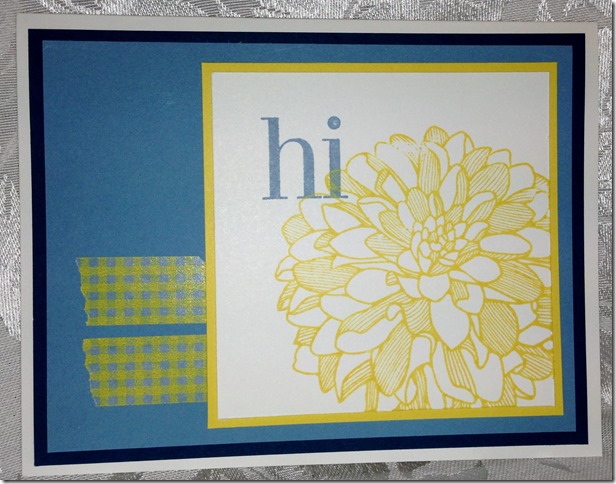
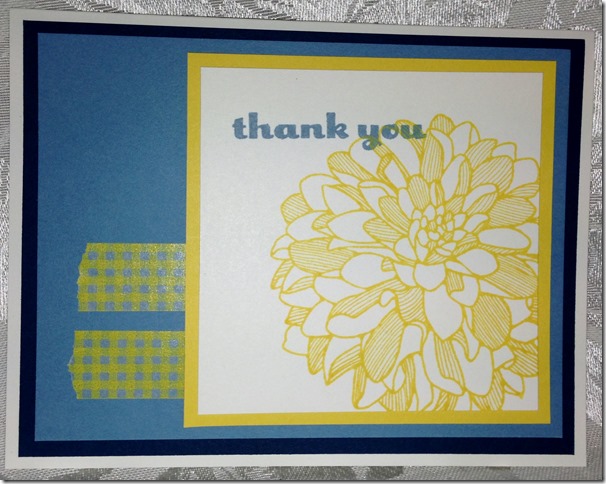
Regarding Dahlias

I absolutely adore this stamp set – it was on my must have list as soon as I got the new annual catalogue this year!  And then I hesitated to buy it…..why?  I don’t know.  Once I bought it I was in love with it!  I haven’t even watercolored it yet, but I already love it! 

IMG_1315.JPG (2)

I started with this card – it was inspired by a card I saw on Shelli Gardner’s blog (the CEO and founder of Stampin’ Up).  Obviously, her card was much more beautiful and elegant than mine, but I liked the clean and simple one-layer card.

IMG_1313.JPG (2)

I had the background pieces (Marina Mist and Night of Navy) already glued together for some Christmas cards I never sent, so I decided to put them to good use on these cards.  Essentially they are the same card, just different sentiments.  I love the flower in yellow, though! 

IMG_1314.JPG (2)

Stamps:  Regarding Dahlias, Best of Shelli

Ink:  Daffodil Delight, Marina Mist, Pool Party, Soft Suede

Paper:  Marina Mist, Night of Navy, Daffodil Delight, Whisper White, Pink Pirouette

Accessories:  Yellow gingham washi tape

Wednesday, July 17, 2013

Gradient Brayer Cards

IMG_1319.JPG (2)

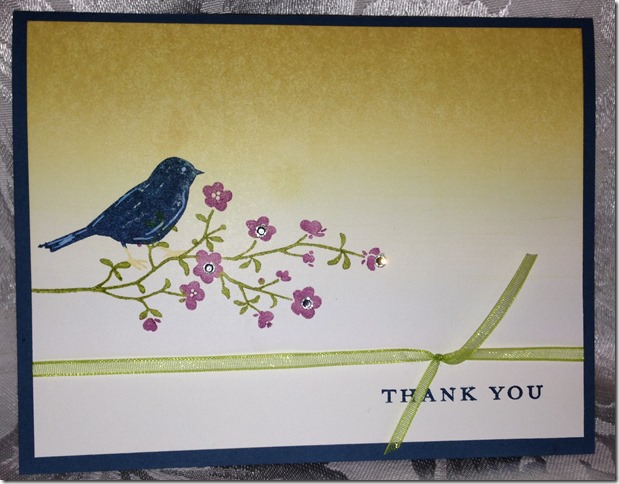
I have gotten my brayer back out this week and started playing with it again.  I decided to create a couple of cards with a gradient background – a background that starts with a saturated look at the top and fades into a white background.  I was quite pleased with the results.  I think even the hubs liked these cards!  Winking smile

The first card here uses one of the Hostess sets, Morning Meadows.  I really like the stamps in this set – I think I have used them quite a few times now!  I need to work on an eye for that bird, though – the rhinestones are a bit too big and the chalk is a little bit light. 

IMG_1318.JPG (2)

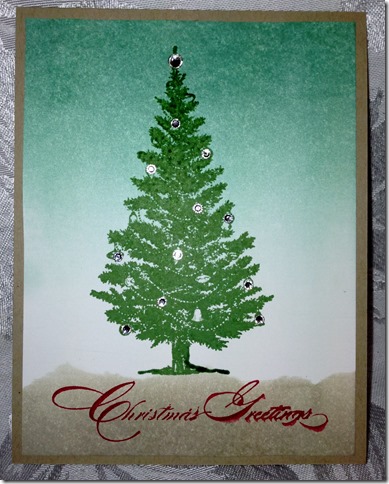
This card uses my very favorite stamp set out of the upcoming holiday catalogue – Special Season.  I love the Christmas tree and the greetings in this set.   And just wait until you see the shiny Designer Series Paper that goes with it!  Oooh la la!!!!  You’re going to love the new holiday catalogue!  It’s like taking a trip through IKEA for stampers!  Lots of inspiration and goodies!

Here I brayered Pool Party at the top.  I stamped the tree in Garden Green and then masked a ground area.  I brayered the bottom with Sahara Sand and added a greeting in Cherry Cobbler.  Now that’s what I call Christmas in July, folks!  Smile

Stamps:  Morning Meadow, Special Season

Ink:  So Saffron, Old Olive, Rich Razzleberry, Midnight Muse, Cherry Cobbler, Sahara Sand, Garden Green, Pool Party

Paper:  Not Quite Navy, Whisper White, Crumb Cake

Accessories:  Chalk marker, Brayer, Basic Rhinestones, Lucky Limeade Organza Ribbon

Thursday, July 11, 2013

14 Years of Wedded Bliss!

IMG_1292

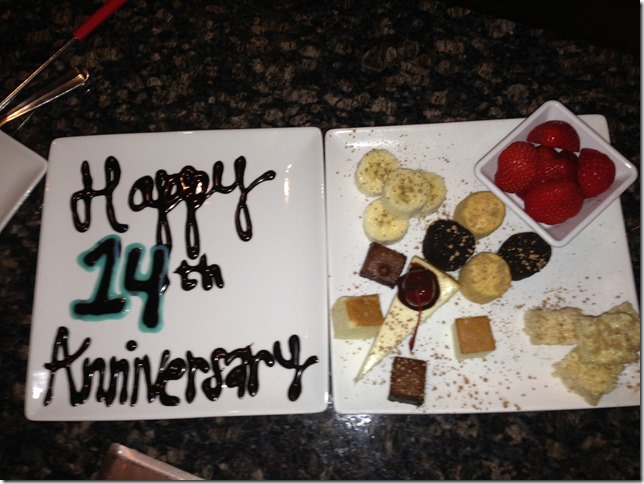
Yesterday my husband and I celebrated our 14th wedding anniversary!  We actually went on a date – we went shopping for the day, went to see a movie (The Heat – totally hi.lar.i.ous!), and even went to The Melting Pot for some yummy fondue!  Here was the highlight of our fondue – the chocolate course!  I didn’t take a pic of the fondue, but it was delightful!  Even the writing  on the plate was yummy!!!!  But, alas, it is now back to tater tots and Disney movies!  Winking smile

IMG_1294

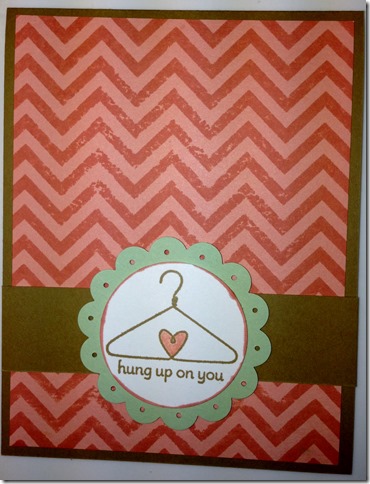
 I did actually make an anniversary card for my hubs, too! (Sorry for the crooked picture….I took it with my phone!)   It was nice and simple…but it’s the thought that counts!  Plus, I was trying to not make it too girly….I have a tendency to do that! And he just  now replied, “Where’s the one that’s not too girly!?”

I used the Create with Connie and Mary Color Challenge, although, in retrospect, I think I used Baked Brown Sugar instead of Soft Suede! 

Stamps:  Positively Chevron, Crazy, Mixed-Up Love

Ink:  Crisp Cantaloupe, Baked Brown Sugar

Paper:  Baked Brown Sugar, Pistachio Pudding, Crisp Cantaloupe

Accessories:  1/8” hole punch, Scallop Circle punch, 1 3/8” circle punch

Wednesday, July 10, 2013

Charlotte Keeney and Paper Pumpkin

20130704_102906

Charlotte Keeney recently sent me some pictures of some gorgeous cards she created recently.  First up is her Paper Pumpkin starter kit card.  This month’s kit should start shipping out today, so I’m excited to see what we will get!  I love mine so much that I started ordering two!  Embarrassed smile

20130708_215714 (3)

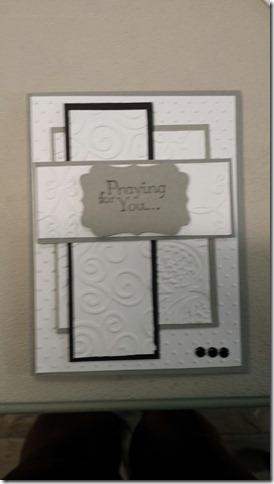
This lovely card has plenty of beautiful embossing folder texture that enhances that sentiment from Thoughts & Prayers.  So pretty and elegant!  Nice job, Charlotte!

Can’t stay long today….time to celebrate 14 years of marriage to my hubby!  Red heart

Monday, July 8, 2013

Label Love

IMG_1290.JPG (2)

I am always looking for an easy way to create a nice card that doesn’t take an enormous amount of time out of my schedule.  Label Love and the Artisan Label Punch proved to be a perfect combination for this task!

IMG_1291.JPG (2)

I had some strips of retired DSP just sitting on my desk, so instead of throwing them away, I used them to add a pop of color behind my labels.  A dash of Dazzling Diamonds and these cards were finished!

Now that’s what I call Label Love!!!

Stamps:  Label Love

Ink:  Real Red

Paper:  So Saffron, Retired DSP

Accessories:  Dazzling Diamonds, Artisan Label Punch

Friday, July 5, 2013

Toe Sucking and a soggy 4th of July!

DSCF6401

Would you believe that my perfectly normal looking 6 year old daughter went through a period of life in which she sucked on her toe and chewed her toenails off?  Crazy, I know!  I have told her over and over that one day I would capture it on a photograph and use it as blackmail to keep her from getting married until she is 35!  Winking smile

Needless to say, I thought this picture would make quite the perfect blackmail for later on in life….I sized it to 5X7 just to make sure the proof was easily evident! 

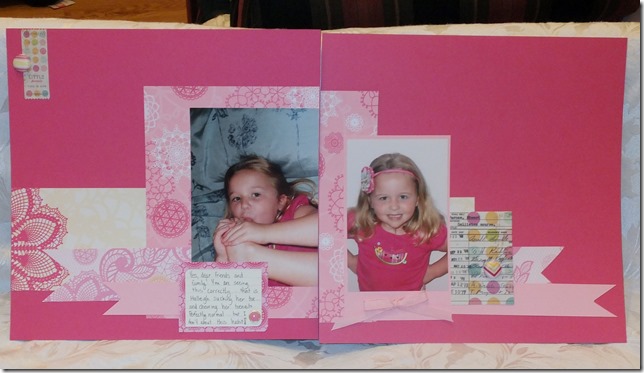
Nothing too special about this scrapbook page – I just used some leftover pieces of retired doily DSP to make this page.  I added a few Basic Grey accents and brads for good measure. 

DSCF6395

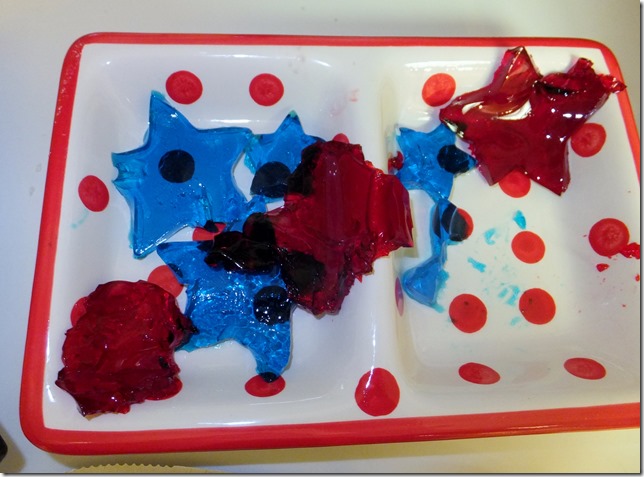
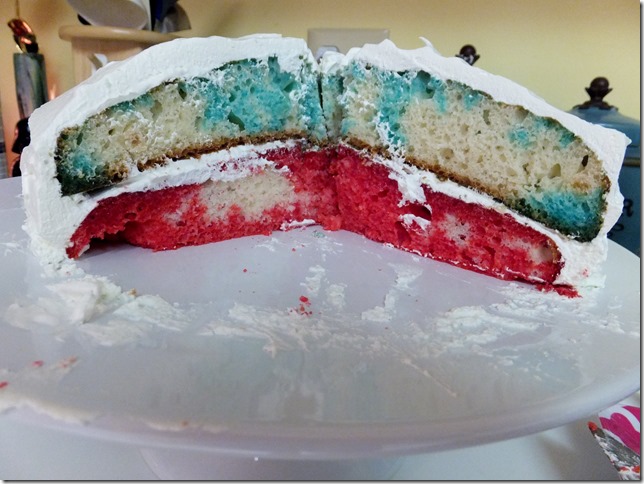
Hopefully your 4th of July was not as soggy as ours!  (Although if you live in Kentucky, I’d say you are drenched like us!)  We decided to do science experiments and be lazy.  We thought about going to the movies, but the line was ridiculous, so we decided to stay home.  Here’s a little sneak peek into our patriotic food!  Star shaped *kind of* Jello Jigglers and  Patriotic Poke Cake – yummy!!!! 

DSCF6396

Have a great weekend!

Monday, July 1, 2013

Glue Girl: a papercrafter’s superhero

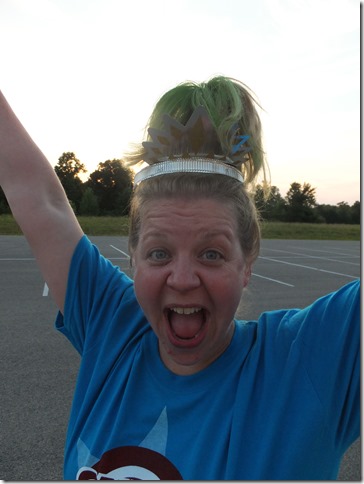
We had a great Vacation Bible School last week – it was based on superheroes.  Between crazy hair day,
DSCF5984

Water games and beach day,

DSCF6017

and dress like a superhero day,

DSCF6090

we had a pretty silly and crazy week!  Since we were on the green team….and there are no green female superheroes, we decided to make our own superheroes.  My husband was the green lantern the night before, so he borrowed hulk hands and a Nacho Libre mask…interesting, I know.

My daughter was Gator or Crocodile Girl (she used her dance outfit and wrestled down a blow up crocodile!) 

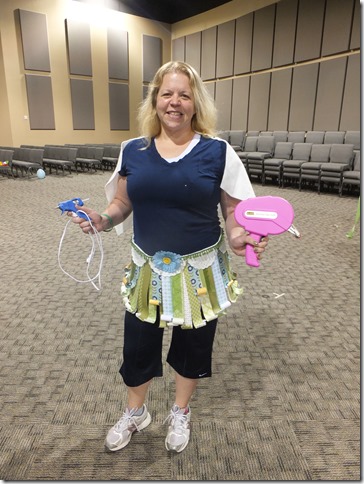
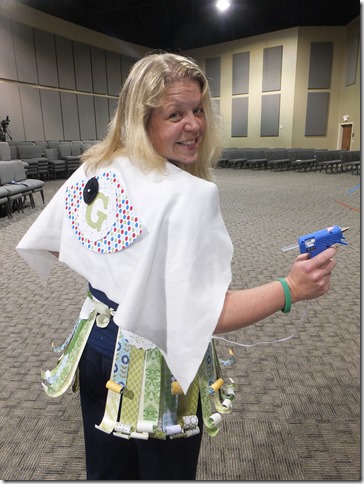
I decided to be Glue Girl…..with my hot glue gun and my ATG gun!  I put my hot glue gun to work to make my own outfit, too!
DSCF6057

By the way, in case you’re wondering…some dust or paper floated through the middle of the camera….right in my chest area….I don’t know what it is!!!!  Eek!

Anyway, I used some green paper that my friend, Sue Denym gave me last spring to make the skirt. 

Here’s how I made it:

1.  Cut a piece of Certainly Celery 1 1/4” grosgrain ribbon (retired) to a length that fits your waist with room to tie.

2.   Cut about 8 sheets of paper into 1 1/2 X 12 inch strips.  Wrap the bottom of each strip of paper around a pencil to make the ends curl.

3.  Glue each strip to the ribbon using a hot glue gun.  I did two layers, staggering the second layer between the two beneath.  I cut some of the strips shorter and added some ribbon my husband wrapped my Mother’s Day present with for variety.

4.  Take paper doilies and fold them in half.  Glue them over the top of the ribbon to hide the edges and messy glue spots.

5.  Glue some green pom pom trim to the top of the doilies.

6.  Add a flower in the center.

And wear with pride!!!
DSCF6059

My cape was nothing but scraps!  I had a large scrap of white felt that I cut and safety pinned to my shirt. 

For my badge I used a birthday hat (flattened) from Stampin’ Up and a letter G from an old birthday banner/party kit.  I added a leftover paper doily and a black satin flower I had on my desk. 

I’m pretty sure most everyone just thought I was crazy, but that’s probably true!  All who knew me also knew this was my true superhero identity!!!! Winking smile  Oops!  Did I say that out loud?  You didn’t see that…..until the next glue emergency…..that’s a wrap for this Glue Girl!!!