
Sunday, December 12, 2010

Club postponed until next week

Okay, ladies of Somerset....do not fret because you missed our club today!  I know there are a few inches of snow on the ground and I live where the sun doesn't shine.....we will continue our club fun next week - Sunday, December 19 at 3:00!
And look at what precious goodies we're going to make!  Is this not adorable?  It's a cupcake holder all dolled up to use as a gift holder. 
And inside the cupcake is not food, but a lovely handmade glass
 ornament!  It took about 5 minutes to make this ornament, so in my opinion, this makes it even more wonderful! 
If you want to make one of these babies for yourself, come on over next Sunday at 3:00!  Come have lots of fun with the ladies of Somerset! 
Ink:  Ruby Red
Paper:  DSP from last year, Real Red
Accessories:  Glitter, rhinestones, decor elements, very vanilla taffeta ribbon, Fancy Favor die cut, striped Old Olive grosgrain ribbon, Real Red polka dot ribbon, needle and thread, Old Olive button, 2 1/2" circle punch, hot glue gun

Thursday, December 9, 2010

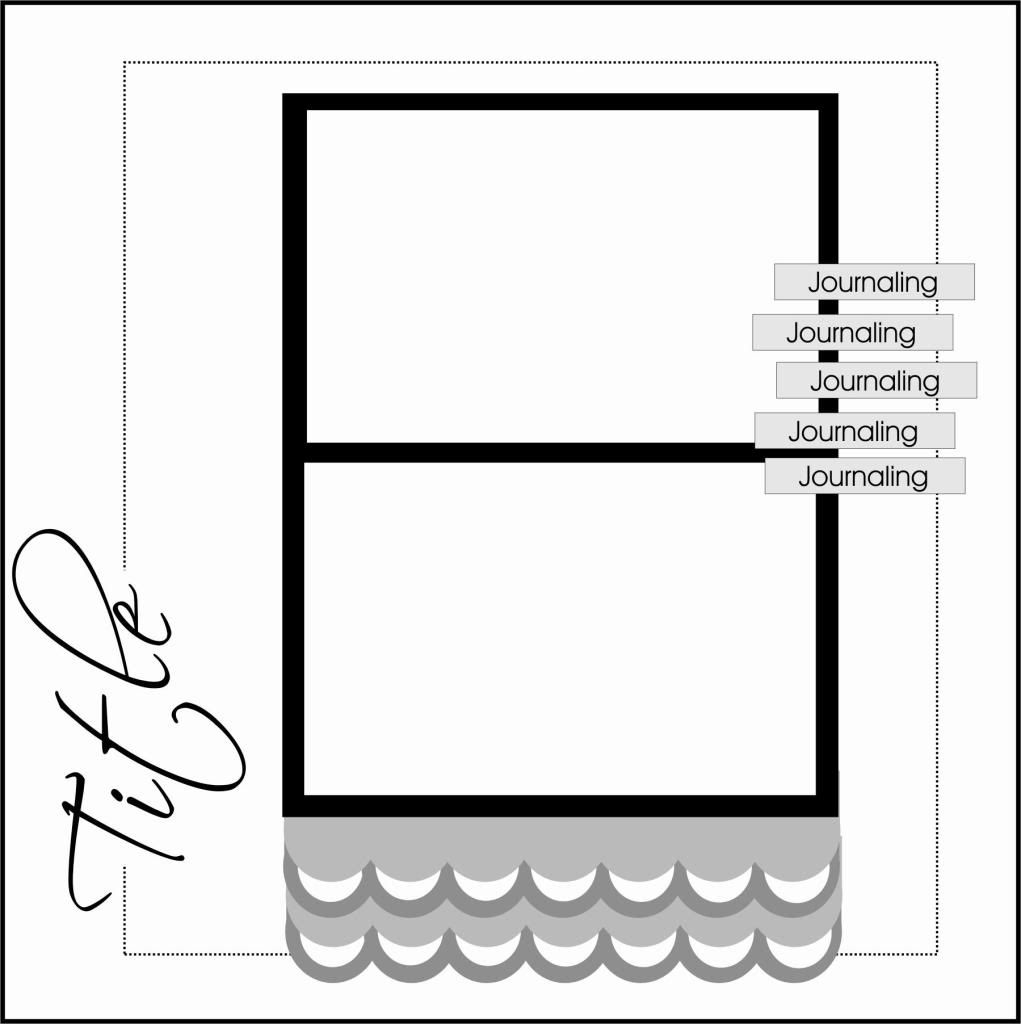
Sassy Lil Sketch and Crop Suey challenge

I finally got a scrap page done last  night!  I love and hate this time of year for this reason....I love the festivities, I love making Christmas cards and doing fun stuff....but I really miss my scrap time.  It was nice to just make a layout and not have to worry about anything else.  I experimented with the scallops below the picture.  I have always liked the large scallops made from rows of half hidden circles, so I punch and layered away to make this accent here.  I wasn't sure if I would like it, but I think overall I am pleased with the effect.  It's a different look! 
Crop Suey had a challenge to base a layout on family, so this worked well for the title family.  This is my family and also a picture of my in-laws with my daughter at Easter.  It's not really an Easter color scheme, but I just loved that polka dot dress our daughter wore....it inspired the color scheme, the black rhinestone edging and even the circle scallop edging. 

Sunday, December 5, 2010

Thank you fairy much!

Finally.....I got these thank you cards made!  It has been such a busy month!  I have had 3 Christmas card stamp-a-stack classes in the last 3 weeks.   Let's just say that the ladies have made close to 200 Christmas cards in the last 3 classes!  Yeah....that's why these haven't gotten made!  Crazy, but fun!  Anyway, I got these finished while watching Amazing Race tonight (go girl teams!!!) 
This is all pretty much retired SU stuff or stuff that has been in the stash for a while.  I used a Moonlight Shimmer Pearl color for the fairy dust and Thank You, then I sprinkled and heat embossed with Irridescent Ice Embossing Powder.  It looks like real fairy dust!  :)  On the inside of the card it will say, "Thank you fairy much!" 
Hopefully this week I can get some scrapping done....even one page would make me happy!!!! 

Sunday, November 28, 2010

Clean and simple Christmas greetings

I saw a similar card to this on Ilina Crouse's blog recently.  So, I thought I'd take a try at a clean and simple card with what I had on hand.  I used the ornaments from the Cute Christmas stamp set and colored them with watercolor pencils and blender pens.  I added just a touch of Smooch to the center lines to add a little bit of shimmer.  Next I added a greeting and little red ribbon bow.  That's it!  you can't get much simpler than that!  Christmas will be here soon!

Stamps:  Cute Christmas, Many Merry Messages
Ink:  Real Red, StazOn
Paper :  Whisper White
Accessories:  Watercolor pencils, blender pens, real red polka dot grosgrain ribbon, smooch

Saturday, November 27, 2010

Glittery snowman card

Here is another card you have the option to make in the create your own stamp-a-stack I'm holding next Sunday, December 5.  It was so simple to make!  I just used the snowflake sizzlit diecut to make plenty of snowflakes.  I arranged them to look like snow falling from the sky - notice the smaller ones at the top and the larger ones at the bottom.  I colored the snowman image from the Tags 'Til Christmas with Marina Mist and punched it out with the 1 3/4" circle punch.   I added a bit of glitter where the tag part is supposed to go (make sure you do NOT color the to/from part!).  Next, I stamped Merry Christmas in Whisper White and embossed it with Irridescent Ice.  For a final touch of glimmer, I put dabs of Crystal Effects in the middle of snowflakes and poured chunky light blue glitter all over it.  Sparkly and sweet!

Stamps:  Tags 'Til Christmas
Ink:  Marina Mist, Whisper White
Paper:  Not Quite Navy, Whisper White
Accessories:  Snowflake die sizzlit, 1 3/4" circle punch, Dazzling Diamonds, Irridescent Ice EP, Chunky blue glitter, crystal effects

Friday, November 26, 2010

Bitty Box of Christmas Tags

When I was trying to decide what to make for my club projects the other day, I ended up noticing that I had the Bitty Box and Envelope die cut and had never even used it!  Don't you just hate it when that happens?  On the other hand, I get really excited because it is a new toy to play with!
So, here is the result of my playing...
I made a Bitty Box out of Sahara Sand and stamp snowflakes on it from the Serene Snowflakes stamp set.  I also stamped a few snowflakes lightly onto my watercolor paper.  On the watercolor paper I stamped the little girl from the Greeting Card Kids stamp set.  I colored her with Always Artichoke, Pink Pirouette, and Sahara Sand.  After distressing the edges and inking them with more Sahara Sand, I put a tiny heart and some clear tinsel in the corner to finish the image. 
I wanted the recipient to be able to use this box again, so I used some wide Pink Pirouette ribbon to make a belly band for the little box. 
 Now, when you open the box, here is what you find! 4 little tags from the Tags 'Til Christmas stamp set.  I punched out several little ornaments and the Do not open until Christmas image and threaded them together.  A rather adorable little ensemble - especially if you do secret Santa! 

Stamps:  Greeting Card Kids, Serene Snowflakes, Tags 'Til Christmas
Ink:  Always Artichoke, Pink Pirouette, Sahara Sand
Paper: Pink Pirouette, Sahara Sand, Very Vanilla. watercolor paper
Accessories:  Bitty Box and Envelope die cut, Ornament punch, 1 1/4" circle punch, Heart to Heart punch, gold threading, pearls, clear tinsel, blender pens

Thursday, November 25, 2010

Elegant medallion Christmas card

Here is one of my favorite cards I recently made.  I used the Medallion stamp in Always Artichoke for the background.  Next, I stamped the large snowflake from the Snow Swirled stamp set in Cherry Cobbler and punched it out with the 1 3/4" circle punch.  I continued the little red dots from the snow flake by coloring in the small dots on the medallion with my Cherry Cobbler marker.  The final touches were the Season's Greetings stamp and the Cherry Cobbler seam binding ribbon between the top and bottom layers.    I really love how this card turned out!

Stamps:  Medallion Background stamp, Snow Swirled
Ink:  Always Artichoke, Cherry Cobbler
Paper:  Always Artichoke, Cherry Cobbler, Very Vanilla
Accessories:  Cherry Cobbler seam binding ribbon, 1 3/4" circle punch, stampin' dimensionals, pearl