Friday, May 18, 2012

Fancy Favor box

I've had this Fancy Favor box on my wishlist for quite a while, so one month recently, I purchased this as a half price item from Stampin' Up.  I love the elegant look of the Fancy Favor box.  What I love even more is just how EASY it is to put together!  It's so versatile, even my daughter enjoys making these for her friends!  Granted....she fills them with toys she doesn't want to play with anymore, but hey, it's the thought that counts, right?
So, here I have the box.  I literally took a 12X6 piece of Basic Black and finished teh rest with scraps of paper.  I used stamps from Clearly for You for the right side.  For the left side, I used a piece of an extra image from the candy to fill in the space. 
What?  I had extra images from the candy? .....  I don't know what happened to that candy!  It just disappeared and left the wrapper behind!!!!  ;)
So here are the pieces of candy that did not disappear!  ;)  I stamped the image from the It's a Wrap Occasions stamp set.  I liked the Mr. & Mrs. for a wedding favor, but I thought it was a little blah.  So I added Silver Smooch to the edges.  (Although, now I think I should have added gold to match the wrapper!)
Note....when making these, you need to cut the paper to about 3 - 3 1/4" to wrap all the way around the nuggets.  I had to go back and add a paper underneath to go all the way around.

Stamps:  It's a Wrap Occasions, Clearly for You
Ink:  Real Red, Basic Black
Paper:  Basic Black, Whisper White, Scraps of DSP
Accessories:  Silver Smooch, Fancy Favor die cut, Hershey's Nuggets with toffee and almonds (these are dangerous to have in the house, people! Cover quickly and hide them from your sight....and your husband's sight!)

Thursday, May 17, 2012

Last pages of our mini album

This year in our scrap club we have been working on a 6X6 mini album using the Beau Chateau DSP for our base.  This layout concludes the double layouts for our mini album.  If you have been coming to scrap club and need to finish up your pages, Saturday is the day for you to do that!
I was inspired to create this page based on an album Shelli Gardner posted a few months ago on her blog.  She used the paper from the Sale-a-Bration paper.
I used the Creative Elements stamp set for this page.  It has really great images for scrapbooking and card making.  One of my favorite images is this flower.  I love to stamp it 3 times and cut around the edges of the 3 layers.   I layer them on top of each other just adding a Stampin' Dimensional underneath each layer.  It creates a simple looking but fabulous accent for your page!

Stamps:  Creative Elements
Ink:  Crumb Cake, Marina Mist, Soft Suede
Paper:  Whisper White, Crumb Cake, Beau Chateau DSP
Accessories:  Labels Framelits, Neutrals brads

Tuesday, May 15, 2012

New In Colors

You notice anything new here?  You should!  Everything on here is brand new...except the Whisper White paper! 
So, for your adoring eyes....we have Primrose Petal, Summer Starfruit, and Midnight Muse.  These are just three of the 5 new in colors.  Also, what you don't see are some of the fabulous new stamp pads.  You can really get inky with these new stamp pads!  Hot, I tell you!  Just a few taps and voila - loads of gorgeous color!  You're going to love them just as much as I do!!!
A new stamp set - Betsy's Blossoms - a great solid set of floral images, a few leaves, and a wonderful little bird to go along with it.
Itty Bitty Banners - I love all things bannerific, so this is a terrific stamp set full of greetings that are all in banner form.
Bitty Banners Framelits - just in case you thought those banners were cute....and then you thought.....yeah, right....I'm not cutting those tiny little banners out by hand!  You don't have to - you can stamp to your heart's delight and then run the banners right through the Big Shot with the fantastic new Banner framelits! 

Well, that's enough of my gushing for the day!  What are you gushing about?  Let me know!  I have plenty more to tell you about!  Our new catalogue is going live in just a few more weeks - I can't wait to let you see it, too!

Stamps:  Betsy's Blossoms, Itty Bitty Banners
Ink:  Primrose Petal, Midnight Muse, Summer Starfruit
Paper:  Whisper White
Accessories:  Bitty Banners Framelits


Friday, May 11, 2012

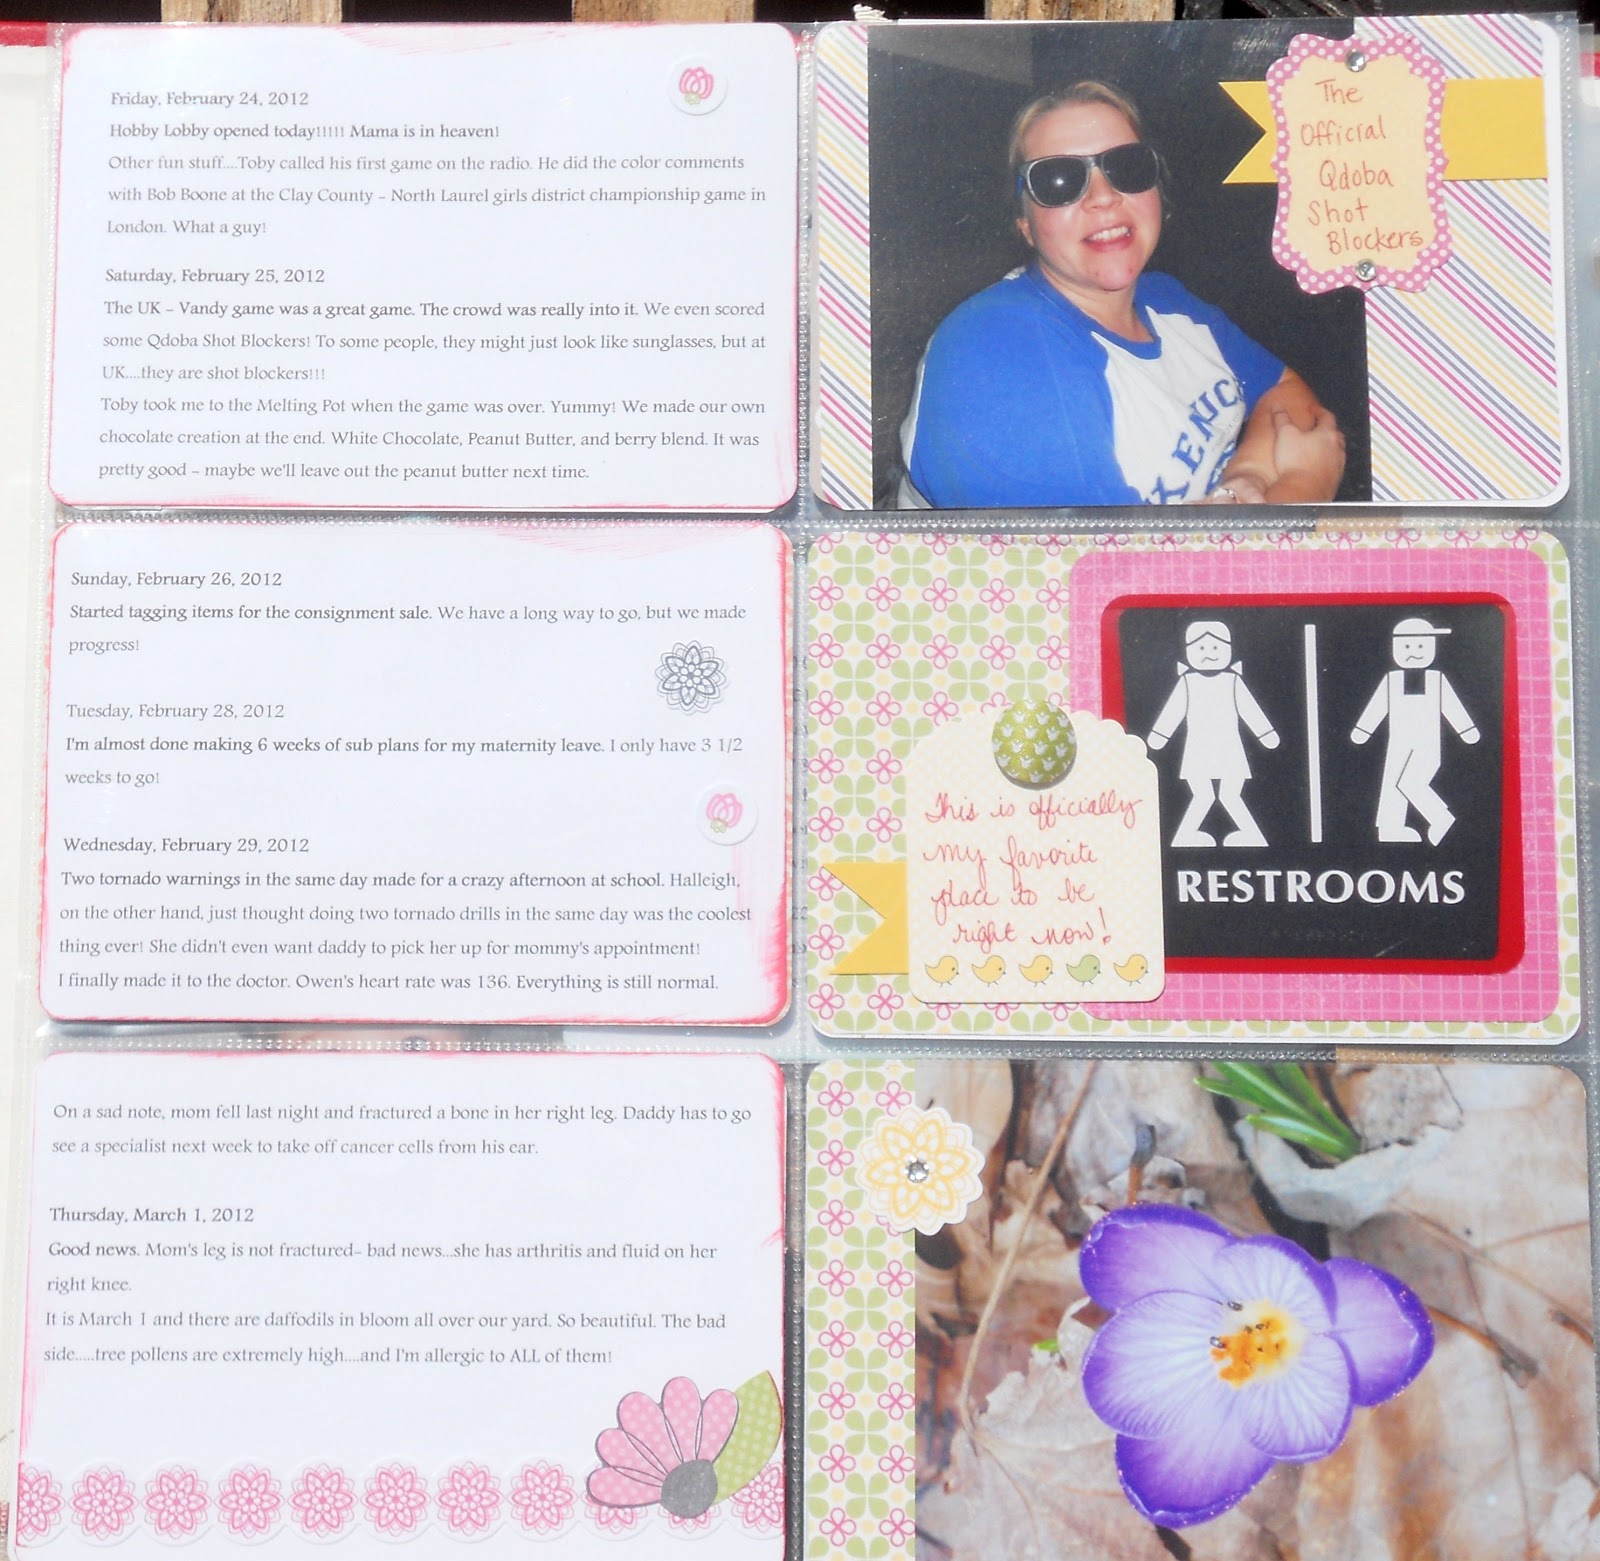
Project Life

I've been doing a weekly scrapbook project this year called Project Life - it's just a scrapbook of our daily life throughout the year.
I keep track of our weekly/daily activities with an app on my phone/computer called Cozi.  It's pretty much like a journal, although you can do lots of other stuff with it, too.  I copy and paste these journal entries out onto little journal card spots I made in Microsoft Word and print them out on Whisper White cardstock. 
This is week....?   It is the first week of March....whatever week that is!  As I was looking at the pictures I had to use, I really like the colors in the cupcake in a jar, so I decided to use the spring Simply Scrappin' kit to make this layout.  It's a bit washed out, though, so you can't see it as well.  I added a few doilies (Wilton cake aisle) to the cupcake spots above.  I also used the original cupcake label from the jar.
And here is the other washed out side!  I promise this is much prettier in person!!! 
I loved this restroom sign at Cane's chicken - I felt like I lived there for a while!

Tuesday, May 8, 2012

My first layout....ever....and a peek at my desk

So, I was reading a scrapbooking forum today and saw a post about your first layout ever.  I started scrapbooking in 1998...yes, people, that is 14 years ago!  That was when you pretty much only found scrappy stuff at Hallmark or Wal-Mart....So here is my first scrapbook.
Here is my first layout - it is a page telling my college roomie and bestie about meeting my husband for the first time.  Needless to say, I didn't immediately start scrapping, but I didn't wait too long to start!  I used the email that I sent her for my journaling.
Nothing too special about that page....just a few stencils and decorative edged scissors.
Fast forward to today - this is what my scrapbook desk looks like right now.   That album is a project life album that I'm very behind on.
The tower on the right holds little knick knack items like my paper piercer, bone folder, rhinestones, etc.
The boxes in front are my pictures - note to self....by a new picture box!
The towers on the left are my ink pads and embellishment holders.  Probably need another of those embellishment holders.
My markers are on the left.
I pretty much don't show anyone this very often, because I'm pretty embarrassed at the mess!  I am not one of those clean scrappers.....I have stuff everywhere - an organized (in my mind) every where!!!

What about your first layout?  What does your desk look like today?  Care to share?

Monday, May 7, 2012

Summer Sunshine

If you hav ever had a 5 year old child, you know that they have a tendency to get fixated on things and repeat them incessantly.  For instance, yesterday my daughter watched a Barbie Mermaid Tail movie and decided that one of the songs included Summer Sunshine in the words.  That may or may not have been correct, but I heard this over and over for the rest of the day!  So, what else should I title my page from the summer but appropriately, Summer Sunshine!
This is a set of pictures from my nephew's 2nd birthday.  My parents posed for us....somewhat!
And here is my picture queen - gotta' love the picture below - that is no longer a slip-n-slide, but a slip-n-plop!

Materials:  Retired Simply Scrappin' kit, Basic Rhinestones, Brights Brads, Rose Red Stampin' Write marker, AC Thickers

Wednesday, May 2, 2012

Rainbows and hot air balloons

I loved this picture  and saying I found on Pretty Little Studio's blog this week.  I am a great lover of rainbows and I thought the saying was really inspiring.  Since the good old Kentucky Derby is this Saturday, it reminded me of all of the festivities going on in Louisville that I grew up watching.  One of my favorites was the hot air balloon race.
I saw a similar card on the demonstrator website, Stampin' Connection and I knew when I saw this picture on the PLS blog I wanted to make something with those ideas! 

To make this card I started with a Soft Suede card base and found some scraps from the colors of the rainbow (ROY G. BIV, my friends!).  I cut each scrap to 1/2" in height and glued them on from the bottom to the top. 
Next, I took a scrap of white paper and stamped some clouds on it in Tempting Turquoise.  I stamped all of the hot air balloon bottoms on the white paper.   I stamped the orange balloon on the base paper and stamped the striped and the red balloon on scraps and cut them out, adhering them with stampin' dimensionals.  I finished off the card with a bitty punch and rhinestone and a matching daffodil button.

Stamps:  Up, Up, and Away
Ink:  Real Red, Tempting Turquoise, Pacific Point, Daffodil Delight, Pumpkin Pie, Soft Suede
Paper:   Real Red, Tempting Turquoise, Pacific Point, Daffodil Delight, Pumpkin Pie, Soft Suede, Rich Razzleberry, Old Olive, Whisper White
Accessories:  Brights buttons, Itty Bitty punches, Basic rhinestones,, Island Indigo baker's twine