Wednesday, April 25, 2012

Wonderful mother card

I decided to make one more card using the scraps I had from my other Mother's Day cards.  I used the same format of the previous cards I made last week, I just used some different stamps.
Here I decided to use Daffodil Delight to color my flowers and a Tangerine Tango brad with a double bow in the middle.

Stamps:  Awash with Flowers
Ink:  Basic Black, Daffodil Delight, Old Olive
Paper:  Whisper White, Summer Smooches DSP
Accessories:  Daffodil Delight seam binding ribbon, Summer Smooches brads

Tuesday, April 24, 2012

Smooch and Spritz

Here's another layout that was inspired by Kelly Purkey's Sketchbook 4 class.  This time I was inspired by a layout designed by April Foster, the owner of Studio Calico.  I took her basic idea and made it mine using the new Summer Smooches paper and a little bit of Glimmer Mist sprays that happened to match the color scheme. 
I liked the red/white/blue combo found in Chip and Dale's outfit, so I let that choose our color scheme for the page.  In the Summer Smooches paper, there is Real Red and Island Indigo paper that lent itself to this idea.  It wasn't a perfect match, but I liked it well enough to keep it for this page. 
I started by using a mask for the bottom of the layout.  I spritzed over that with Cherry Limeade and Carribean Blue Glimmer Mist.  I added a few strips of Summer Smooches paper and matted my picture with a little bit of Whisper White and Island Indigo paper.  You'll notice I left a little bit extra on the right side - I did that on purpose - kind of making it have a sideways Polaroid look.  It also left room for the baker's twine and the & symbol. 
I decided to make the title using a stencil and some letter stickers.  I tried to color the letter stickers Island Indigo....but they were a little dull.  Therefore, I went back around them with my Real Red pen to outline each letter.  While I had my Stampin' Write markers out, I doodled a little frame around the edge of the page. 
To finish off the page, I used up my supply of Real Red buttons and Island Indigo brads.  I pierced a trail using my paper piercer and scattered the buttons and brads along that trail leading your eye right through the picture and the title. 

Ink:  Island Indigo, Real Red
Paper:  Whisper White, Island Indigo, Summer Smooches DSP
Accessories:  Island Indigo baker's twine, Real Red buttons, Island Indigo brads, Mask (pink Paislee), Stickers (Studio Calico), Stencil (Jenni Bowlin), Glimmer Mist (Tattered Angels)

Sunday, April 22, 2012

Beau Chateau 6X6 layout

I have almost killed a pack of Beau Chateau DSP.....by killing it, I mean no harm!  I simply mean I have almost used up every single sheet of it down to the last scraps!   Those who have been to our club meetings this year have joined me in making a complete 6X6 album using paper from this paper pack.  We have one more club meeting left to finish our album and then we will take a break for the summer.  If you live in the Somerset area of Kentucky and are interested in joining us for more fun projects, leave me a message with your information in the comment section and I'll hook you up!

To make this layout, it was actually very simple.  We took 2 6X6 sheets of Beau Chateau DSP for the backgrounds.  The two picture mats are 4X5 (L) and 3X4 (R).  The banners are all made from scraps.  I started with scraps that were about 3/4 - 1" in height and made them to match the empty areas on the page.  When I add my pictures, I will go back with a Uniball Signo White gel pen to add any journaling or notes.  The embellishments are simple - 3 layers of the Doily punch with a Stampin' dimensional in between each layer.  The brads are the butterflies from the Everyday Enchantment line from the Sale-a-bration catalogue. 
NOTE:  If you are using the doily or the flower triple layer punch.....you MUST use it on a flat table.  I would also advise standing to be able to put plenty of weight and pressure on the punch to get the intricate details to cut all the way through.  These are great punches, but they are made differently than the rest, so you can't be lazy using them!  (I should know!!!)

Ink:  Marina Mist
Paper:  Crumb Cake, Soft Suede, Marina Mist, Beau Chateau DSP
Accessories:  Doily triple layer punch, Basic pearls, Sponge daubers, Everyday Enchantment brads

Thursday, April 19, 2012

Petite Purse - too cute!

The new sneak peek items are so fun!  Here is another one of the sneak peek items I played with last night.  This is a purse made from the Petite Purse die cut.  Don't let the picture fool you - it is a little bigger than it looks!  You can get a good handful of candy and other treats inside!  Of course, since diamonds ARE a girl's best friend.....you could just hide some earrings or other precious jewelry inside, too!  ;)
The first purse is the basic purse that I made.  I stamped the small flower from Bordering on Romance on the outside in Blushing Bride and finished off the purse with some Sizzlits Floral Fusion flowers.
For a little change here, I used the Twitterpated designer paper to add a lid on this little purse and make it a little more fancy.  How darling is that?  I think I'm in love!!!!
You know what my favorite thing about this little purse is?  It was SUPER EASY to make!!!!  I think I made these two cuties in about 15 minutes flat!!!  How's that for some awesomeness?

Stamps:  Bordering on Romance
Ink:  Blushing Bride
Paper:  Blushing Bride, Twitterpated DSP
Accessories:  Floral Fusion Sizzlit, Twitterpated buttons, Cherry Cobbler linen thread

Tuesday, April 17, 2012

Spring Inspiration

I adore this spring inspiration picture I saw over at the Pretty Little Studio blog this week.  I would actually love to make this cute little umbrella filled with flowers and bird nests for my house!  It so fits my style!
I made a few Mother's Day cards for the upcoming occasion.  I may use these for my stamp club meeting this weekend.   I actually used the same patterned paper for both cards - I just flipped it over. 
I loved all of the flowers in the umbrella, so I thought a tiny bouquet of stamped flowers would be great for moms.  Note:  I didn't notice my ribbon had gotten off track until I started the blog post!!!  Eeek!
Here I used the same basic sketch, I just switched the colors, the flowers, and the way I adhered the ribbon and brad.  Which do you like better?

Stamps:  Delightful Dozen, Awash with Flowers
Ink:  Basic Black, Real Red, Island Indigo, Old Olive
Paper:  Whisper White, Summer Smooches DSP
Accessories:  Blender Pen, Dazzling Diamonds, Daffodil Delight seam binding ribbon, Summer Smooches brads

Monday, April 16, 2012

Always Dream

As I've used the Summer Smooches paper, I have decided that I not only love the color scheme, I love the fact that you can make it useful for masculine or feminine projects.  It's almost like they designed one side to be more floral and another side to be more non-descript.  I really like that versatility. 
Anyway, as I was looking at my photos I had to scrap next, I found these two pics of Pinnochio and Jiminy Cricket and the colors matched perfectly!  Since I didn't really have much to journal....really just more characters on the Disney ship that we hadn't seen at Disney World..... I made my own journaling text box and used a famous Jiminy Cricket quote.  When your heart is in your dreams, no request is too extreme.  This quote lent itself to the title, a fitting Always Dream.

Stamps: Always (retiring on May 31!!!!)
Ink:  Island Indigo
Paper:  Daffodil Delight, Whisper White, Summer Smooches DSP
Accessories:  Summer Smooches brads, Heart to Heart punch, Thickers (American Crafts), Journaling spot (Designer Digitals)

Sunday, April 15, 2012

Sweet pinwheel birthday

I had to make a card for my father's birthday this week, so I wanted something fun and whimsical, but not too girly.  I decided to create a birthday gift with a pinwheel instead of a bow. 
The pinwheel is pretty easy to make - you simply make a square and cut towards the center from each corner, but stop short of the center.  You pull down the corner of each side and stick it down with a glue dot.  Fill the center with something cute (like a cupcake brad) and you're finished!

Stamps:  Sweet Cake
Ink:  Island Indigo
Paper:  Calypso Coral, Sweet Shoppe DSP
Accessories:  Sweet Shoppe brads

Saturday, April 14, 2012

Sweet cake birthday card

I wish I could let you smell this card - it is so delicious!  It smells like vanilla!  I used the vanilla embossing powder on the icing part of the cupcake.  Of course, I had to go back and add Dazzling Diamonds to the cupcake as well.
I used the Sweet Shoppe DSP for this card and it made putting it together super easy.  I colored the image with my Stampin'
Write markers and made a banner to go across the center.  Finally had a few minutes to play in the scrap area with my stamps, so I have this card and another card for tomorrow.  These Sweet Shoppe items are only available until the end of the month!  Grab them while you can!

Stamps:  Sweet Cake
Ink:  Pool Party, Calypso Coral, Island Indigo
Paper:  Sweet Shoppe DSP, Whisper White, Calypso Coral
Accessories:  Vanilla Embossing Powder, Dazzling Diamonds, Pool Party Ruffled Ribbon

Friday, April 13, 2012

Summer Smooches Sneak Peek

Did you know that our new catalogue is coming out in June rather than July?!  That is so exciting!  It means it is just a mere month and a half until it arrives.....summer drooling material!
Anyway, right now there are a few items available for sneak peek material.  Actually, there are quite a few from which you can choose!  I had quite a time trying to narrow my selections down!
Here was is a card that showcases a few items that I purchased. 
I used the nice and cheerful Summer Smooches designer series paper to make the card.  The flowers actually come from the Blossom Builders in the Spring mini catalogue.  The brad in the center is exclusive this month only as part of the summer smooches sneak peek.  Finally, the Daffodil Delight seam binding ribbon is the final sneak peek item used on this card. 

Stamps:  Petite Pairs
Ink:  Pacific Point
Paper:  Pacific Point, Daffodil Delight, Whisper White, Summer Smooches DSP
Accessories:  Daffodil Delight Seam binding ribbon, Blossom Builders, Summer Smooches brads, 5 petal punch, corner rounder punch

Thursday, April 12, 2012

Guest designers: Carol and Jenny

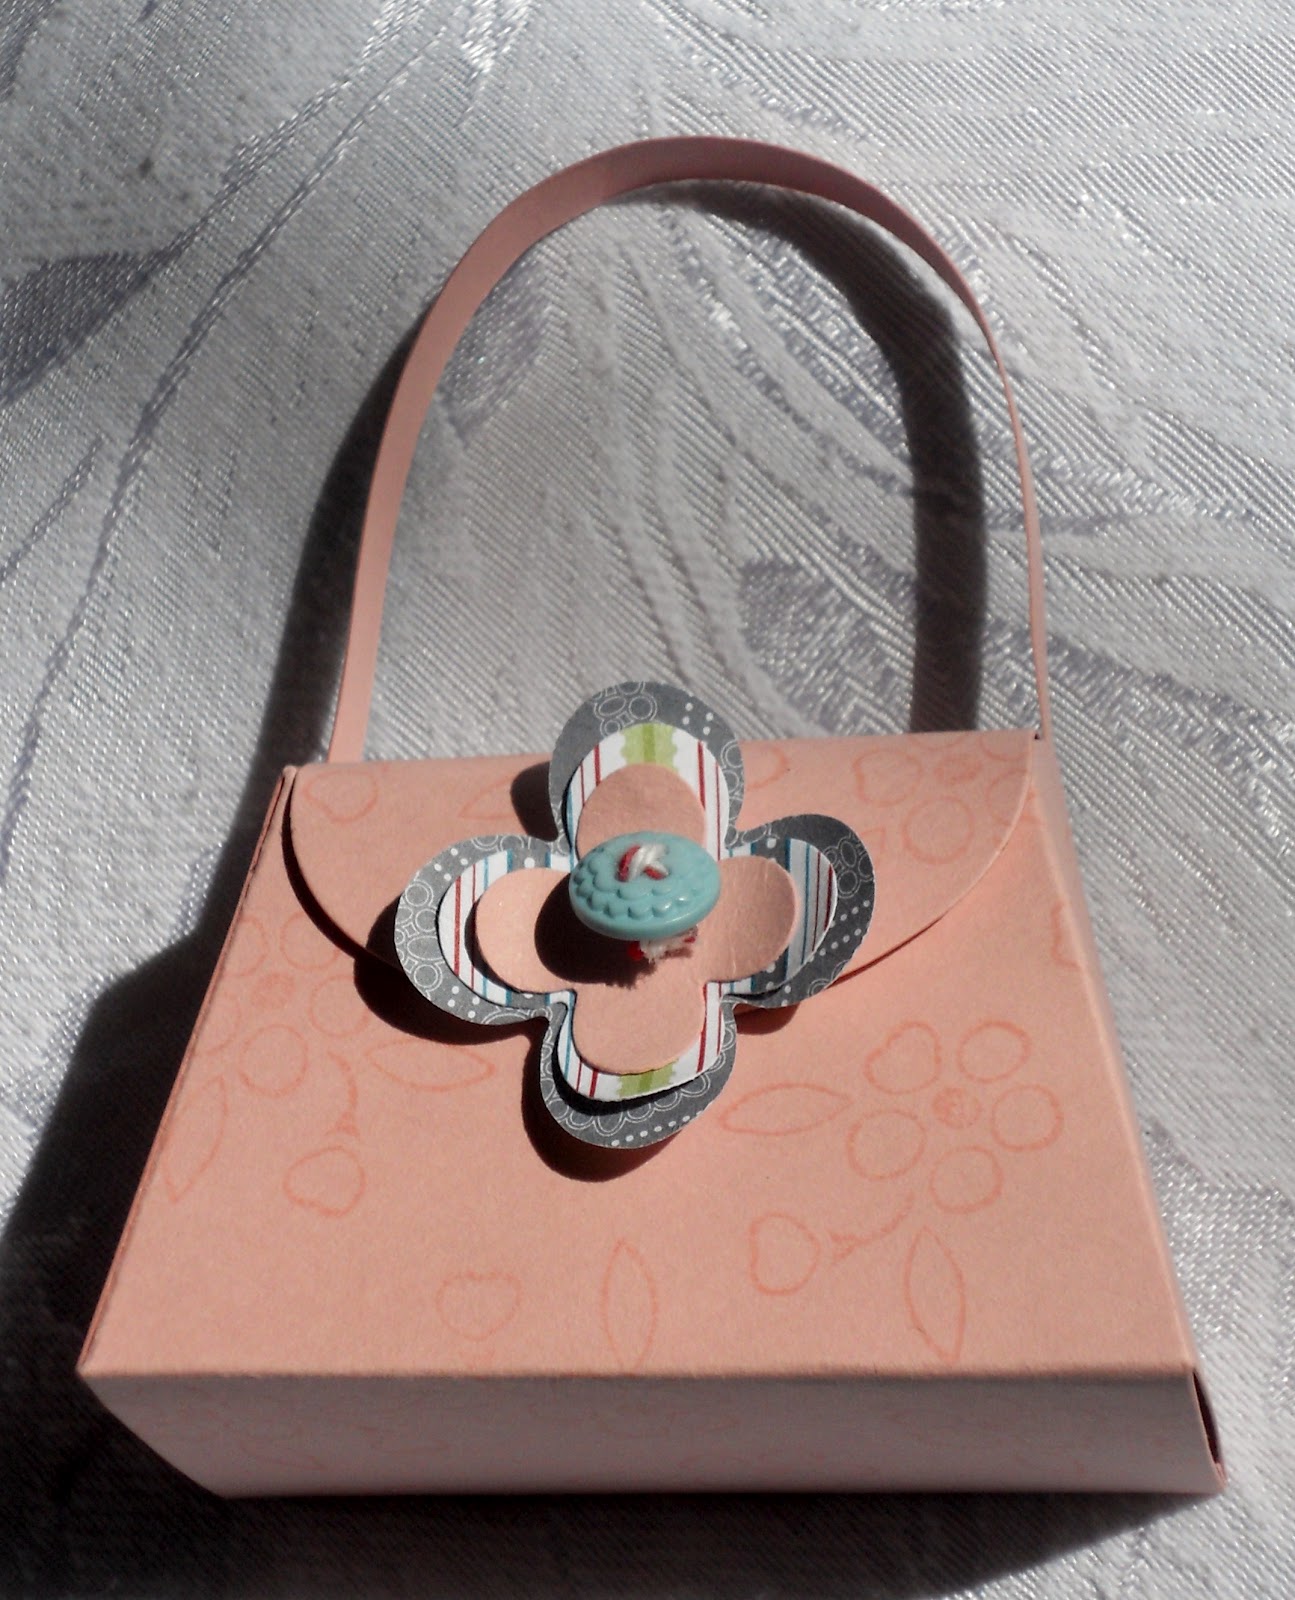
That oh, so fabulous card-making duo has been at it again!  Well, honestly, it has been a couple of weeks since they sent me these pics to share....I just haven't been getting many moments in the blogosphere to upload them!  So, here are some long awaited, but well worth the wait cards for your viewing pleasure!  :)
Love this elegant red, white, and black combo with the perfect little bow!  The butterflies are nice little pops of color amongst the flowers, too.
This card is so yummy with the newest cupcake stamp set, I think I may have to play with it this week to make a birthday card for someone!  I might even use our scented embossing powder on it - it just makes me want to eat it!  Again - I love those pops of red that make it really stand out.
This is a great use of some retired DSP.  I think it was Bella Chateau or something - really gorgeous and thick.  Great color combo for this cutie cupcake card - even great for a guy!
Here is the DSP that is exclusive to hostesses - it is so bright and cheerful!  I love the look of the single flower stamp in the bottom corner, too - it really makes it stand out!  What a cheerful card to receive in the mail - that would brighten someone's day, for sure!
And, finally, a lovely card with one of the Sale-a-Bration satmp sets.  Elementary elegance was the name of it, I believe - one of the most popular stamp sets from the sales event.  Again - I love the simple color scheme and the professional, elegant touch this card conveys. 

In case you didn't notice it, the CLEARANCE RACK HAS BEEN UPDATED WITH NEW ITEMS!  So, if you haven't already, RUN.....don't walk to get there and scoop up some great new deals!!!  :)
Thanks again to Carol and Jenny for some more outstanding inspiration!  Hopefully you have inspired my mojo (and I can stay awake long enough....) to get creative! 
Little Owen is now 19 days old - I occasionally get some sleep here and there!  ;)


Tuesday, April 3, 2012

Triple Treat Flower Single Stamp

I got this Triple Treat Flower stamp during the recent Sale-a-Bration.  I really love stamps like this because they make adding lots of texture and dimension really easy to do. 
Here's how I made these cute little cards:

1.  Start with a 3X3" Tempting Turquoise card base.
2.  Attach a 2 3/4 X 2 3/4" scrap of DSP.
3.  Stamp a Melon Mambo flower and punch using the Fancy Flower punch.  Adhere to the card.
4.  Stamp the flower in Tempting Turquoise and punch using the 5 Petal Flower punch.  Adhere to the card.
5.  Stamp the flower in So Saffron and punch the center using the 1/2" circle punch.  Adhere to the card with a Stampin' Dimensional.

Stamps:  Triple Treat Flower
Ink:  Melon Mambo, Tempting Turquoise, So Saffron
Paper:  Tempting Turquoise, Whisper White, retired DSP scraps
Accessories:  Fancy Flower, 5-Petal Flower, and 1/2 inch circle punches

Sunday, April 1, 2012

Baby Firsts Thank You

I was so pleased with the way this card turned out.  It was not a difficult card to make, but it packed a sweet little punch with it!

1.  Start with a 4 1/4 X 5 1/2" card base (Marina Mist).
2.  Make a 4 X 5 1/4" mat (Basic Gray).
3.  Stamp feet and Thank you on a 3 3/4 X 5" Whisper White base.
4.  Add a 1 X 3 3/4" strip of Nursery Nest DSP and tie a piece of Bashful Blue (retired) gingham ribbon around this. 
5.  Adhere to the Basic Grey mat and adhere to the marina mist card base.

See it's just that easy! 

Stamps:  Baby Firsts, Thank You Kindly
Ink:  Marina Mist
Paper:  Whisper White, Basic Grey, Marina Mist, Nursery Nest DSP
Accessories:  Blue Gingham ribbon (retired)